



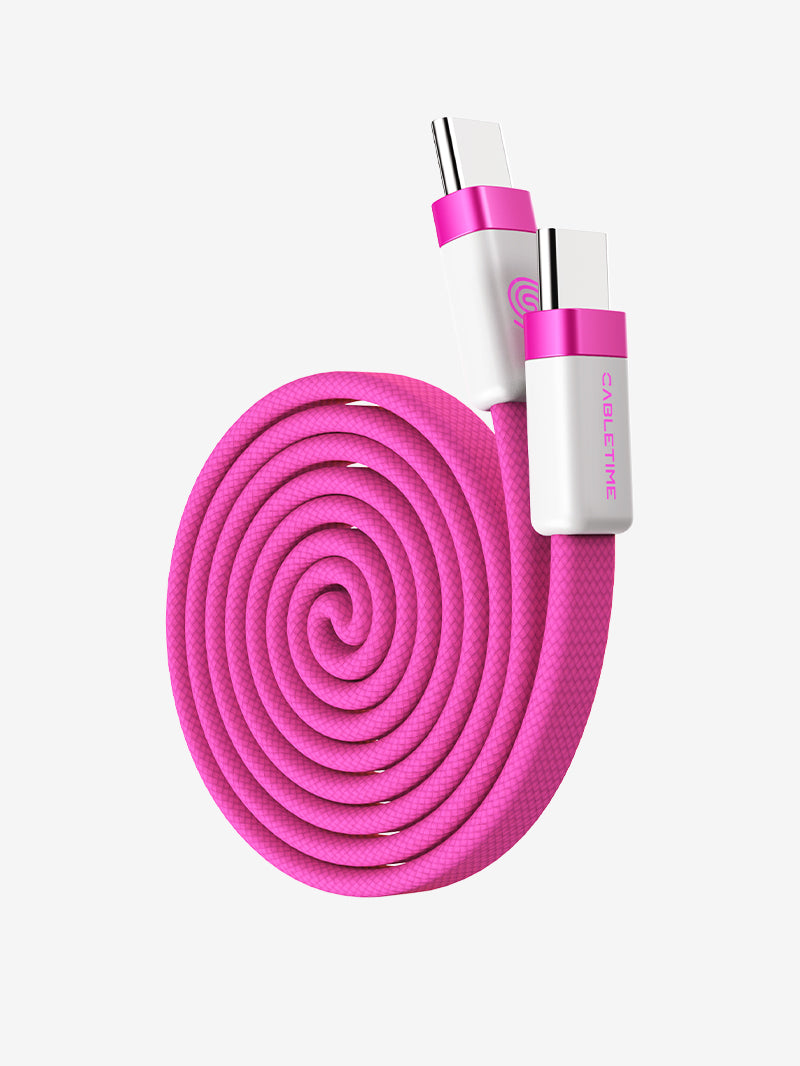
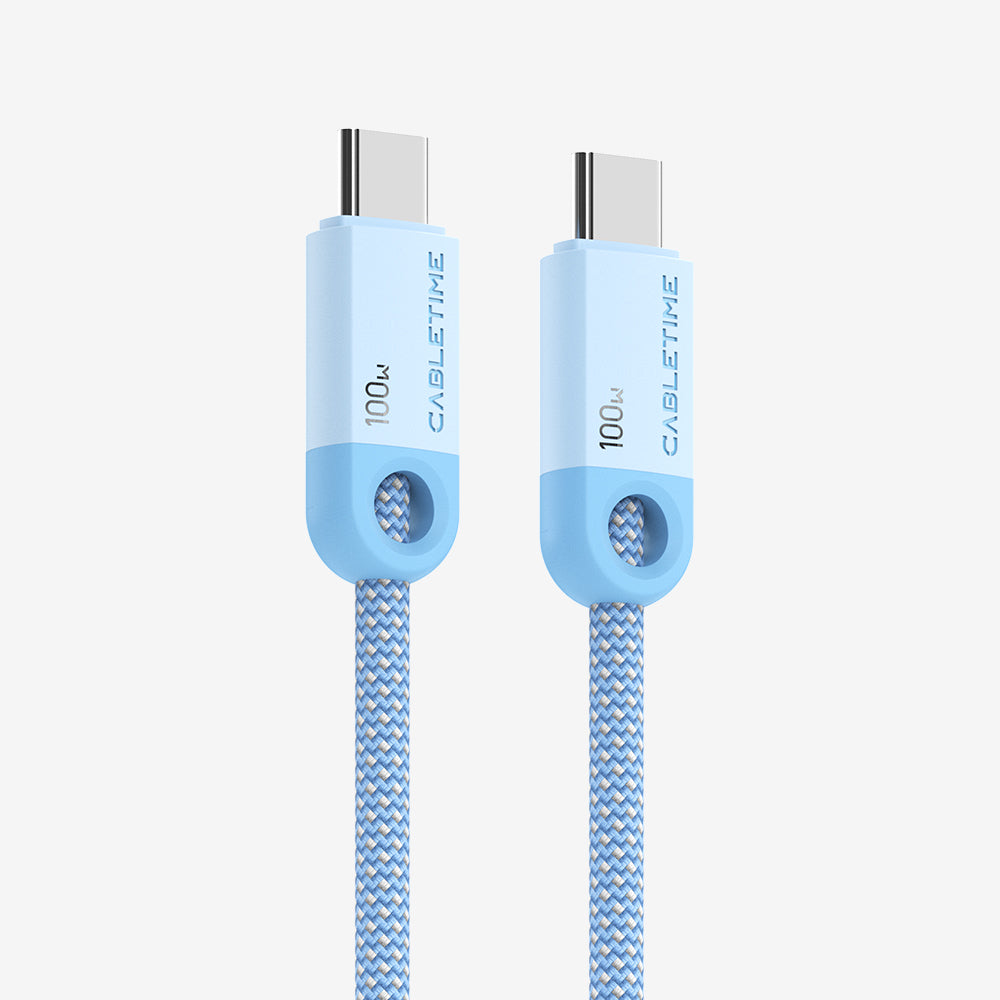


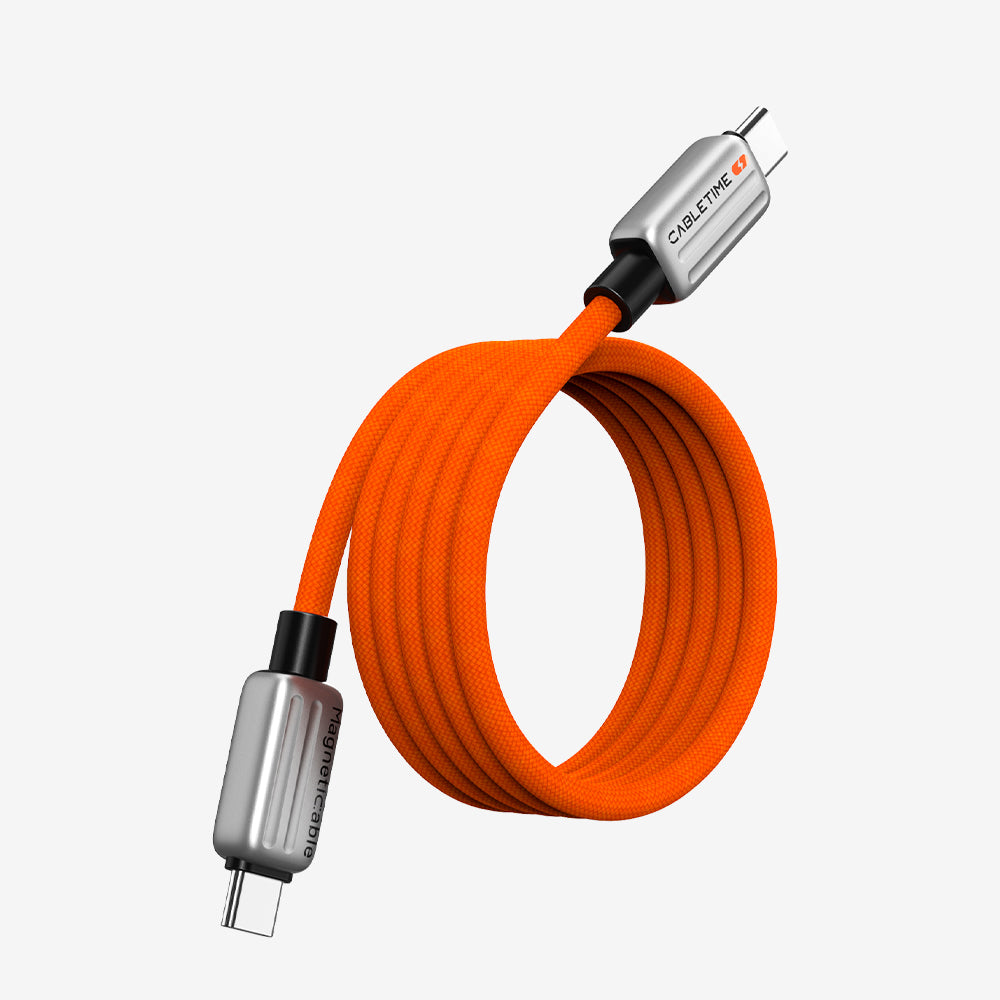
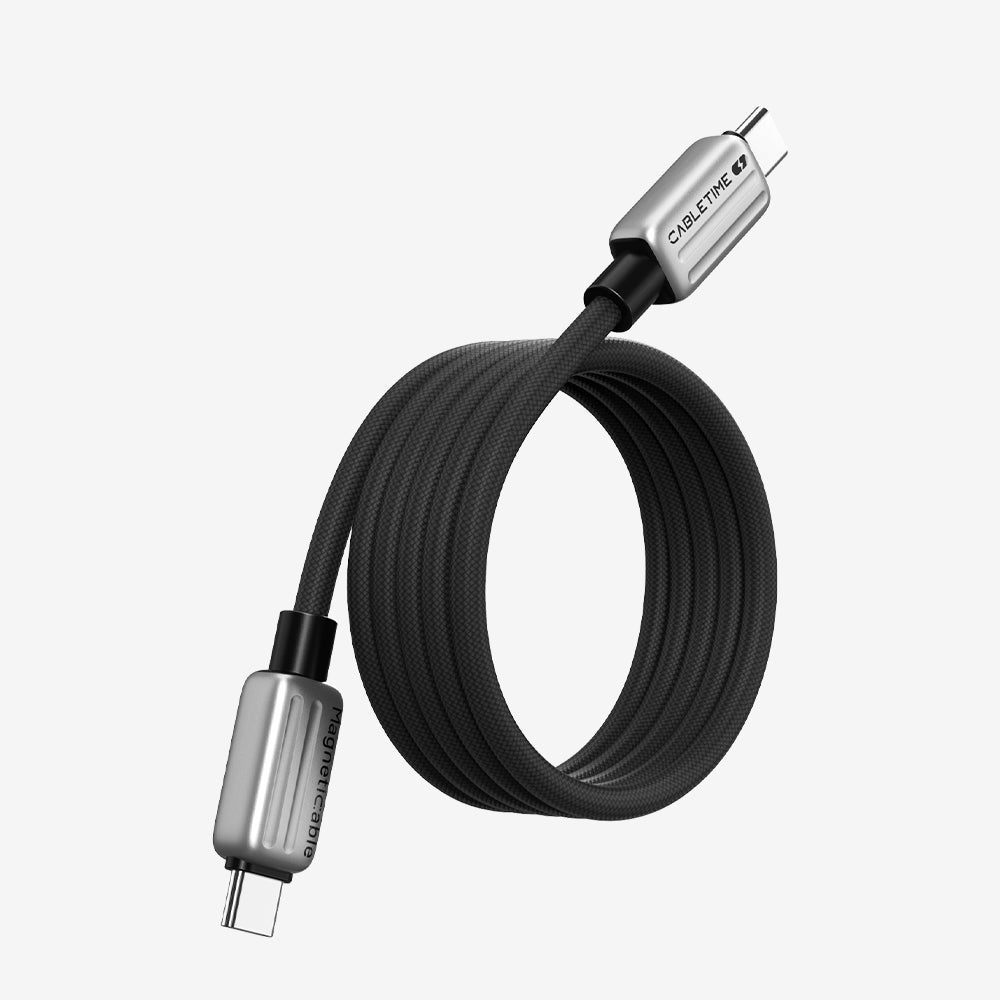
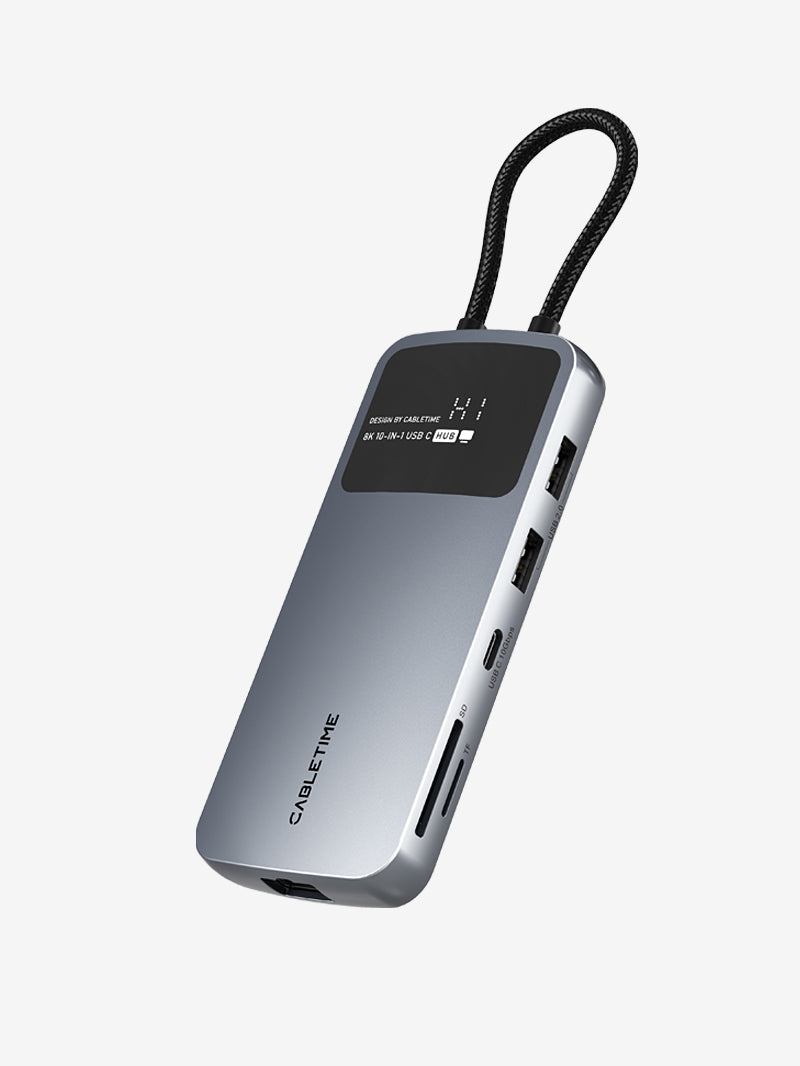
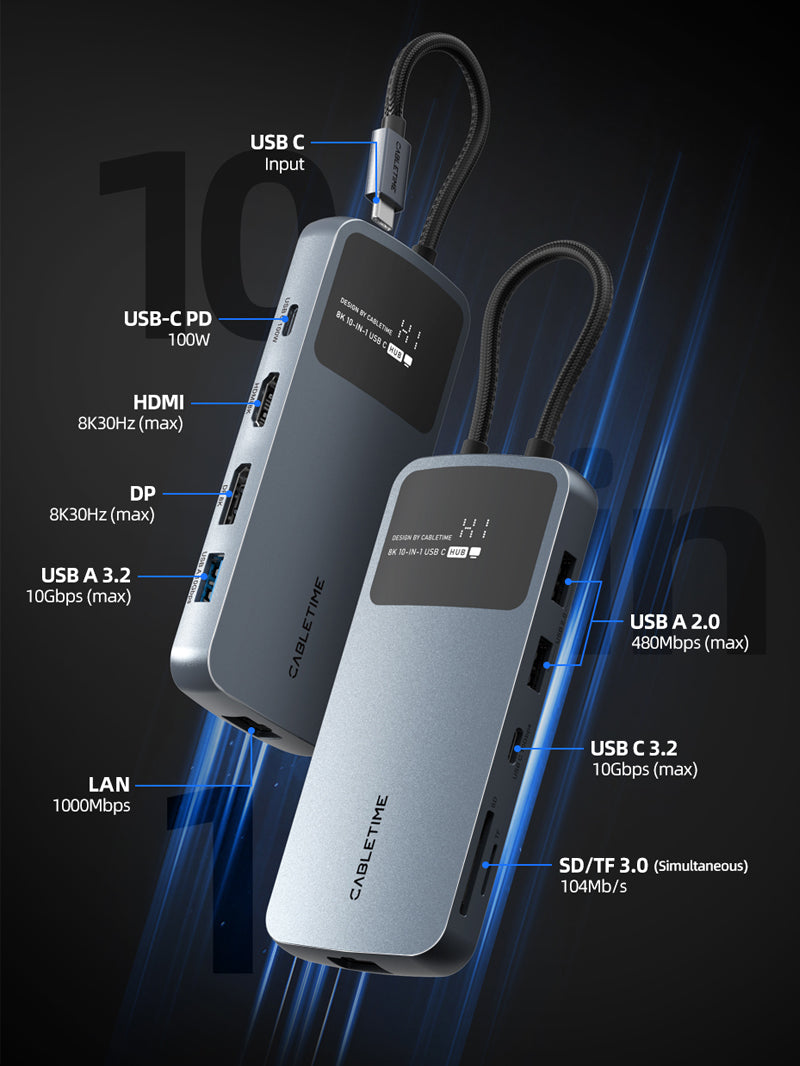
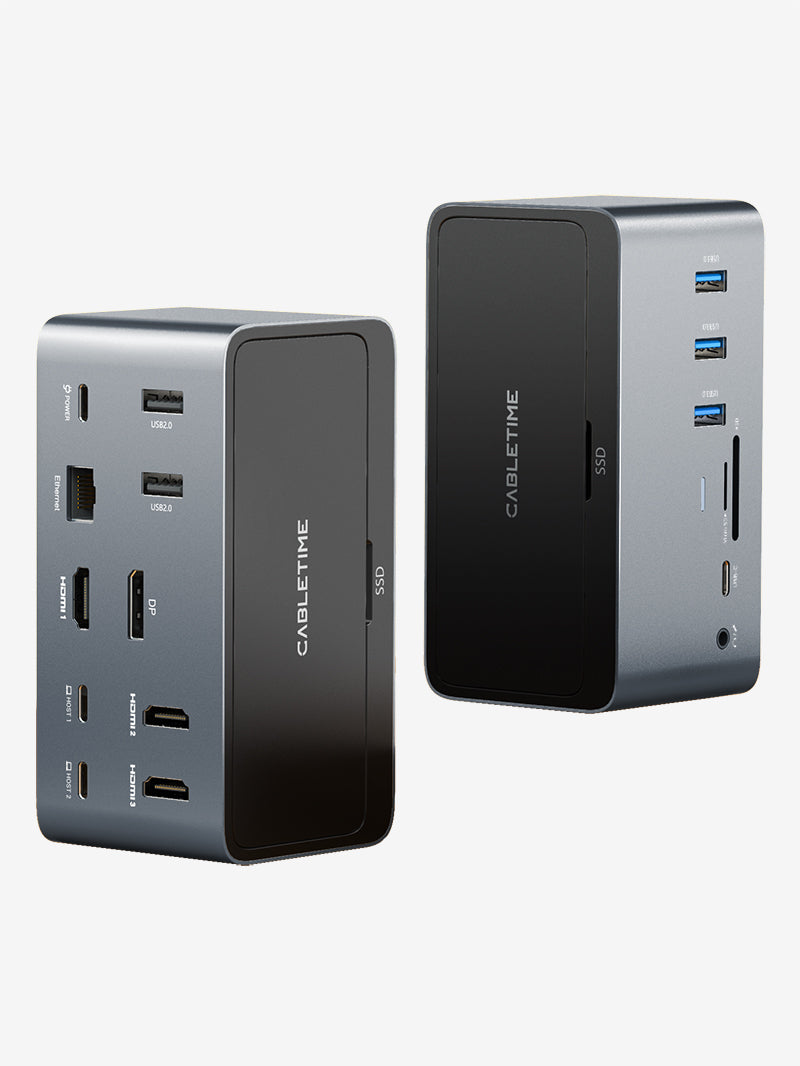
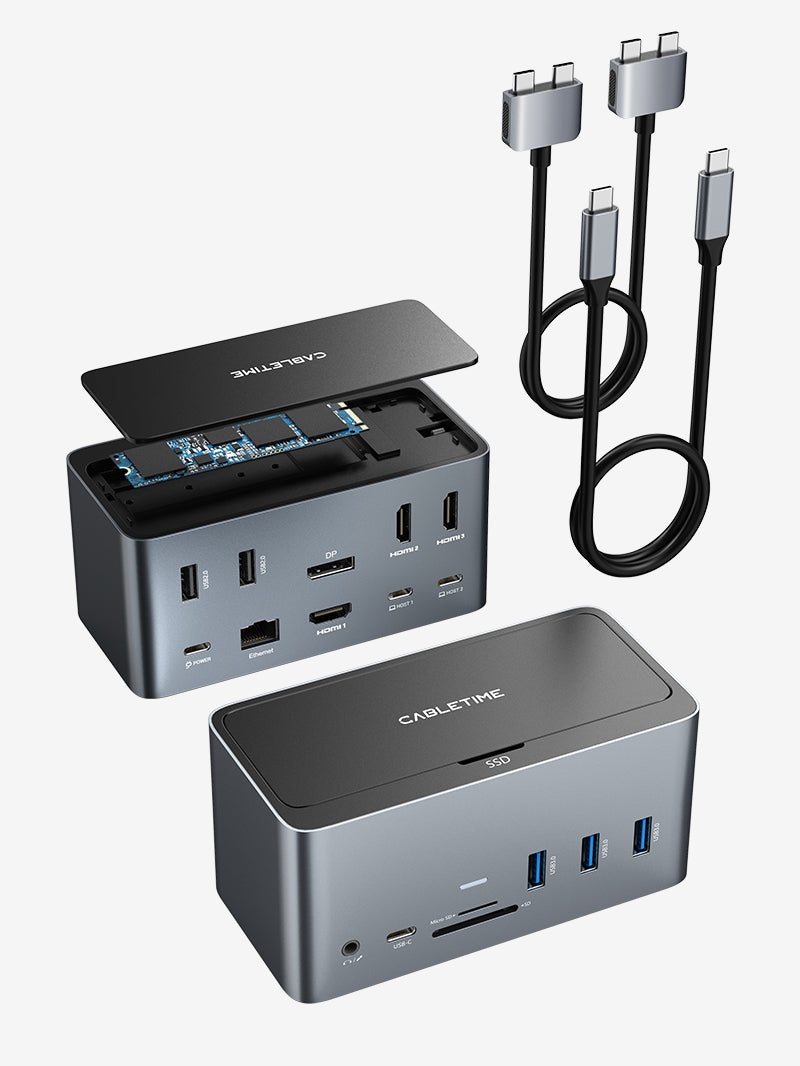


Recording Nintendo Switch 2 gameplay in OBS is easier than it looks. We tested two CABLETIME USB-C capture setups with Switch 2 and OBS, and both successfully brought live gameplay into OBS at up to 1080p60.
The main difference is simple:
Want to play on a TV while OBS records on your laptop?
Use the CABLETIME 5-in-1 USB-C Hub Capture Card.
Want the simplest laptop-based recording setup?
Use the CABLETIME 1080p USB-C Video Capture Card.
That’s really the biggest decision.
Below, we’ll show you how both setups work, how to add your Switch 2 in OBS, and which option makes more sense for your setup.
Quick Answer: How Do You Record Switch 2 Gameplay in OBS?
You need:
- Nintendo Switch 2
- A compatible capture device
- A laptop or desktop with OBS
- A USB-C PD charger for the Switch 2 capture setup
Then:
- Connect your Switch 2 to the capture device.
- Connect the capture device to your laptop.
- Open OBS.
- Go to Sources → + → Video Capture Device.
- Select the CABLETIME capture device.
Once OBS recognizes the device, your Switch 2 gameplay should appear in the preview window. For the setups tested in this guide, use 1920 × 1080 at 60fps for recording.

Which Setup Should You Use?
Here’s the easiest way to choose.
| What You Want | Best Choice |
| Record Switch 2 in OBS | Either one |
| Play on a TV while recording | 5-in-1 Hub Capture Card |
| Use your laptop as the preview screen | USB-C Video Capture Card |
| Need HDMI output | 5-in-1 Hub Capture Card |
| Need extra USB-A ports | 5-in-1 Hub Capture Card |
| Want fewer cables | USB-C Video Capture Card |
| Want a more portable setup | USB-C Video Capture Card |
| Want capture + USB-C hub functions | 5-in-1 Hub Capture Card |
So don’t ask:
“Which one can record Switch 2? Both can.
Ask:
“Where do I want to see the game while I’m recording?”
That makes the decision much easier.
Setup 1: Play on a TV While OBS Records

Use the 5-in-1 USB-C Hub Capture Card
This is the better setup if you want a normal console-style experience. You play on your TV or monitor. Your laptop runs OBS and records in the background.
Connection: Switch 2 → 5-in-1 Hub
From the hub:
- HDMI → TV or monitor
- Capture connection → Laptop
- PD input → USB-C charger
The hub also gives you USB-A expansion for compatible accessories.
Why This Setup Is Better for Fast Games
You can technically watch the game through the OBS preview. But that isn’t always the best way to play. Capture software can introduce a little preview delay. For slower games, setup checks, or tutorials, that may not matter. For games like Mario Kart, fighting games, or platformers, even a small delay can feel noticeable.
The better setup is:
Play on the TV. Record on the laptop. That’s one of the biggest advantages of the 5-in-1 Hub Capture Card. Your TV stays your gaming screen, while OBS handles recording separately.

What the 5-in-1 Hub Is Doing
The hub combines several functions in one device.
| Function | What It Does |
| USB-C host connection | Connects to Switch 2 |
| HDMI output | Sends gameplay to TV or monitor |
| Capture | Sends gameplay to OBS |
| USB-C PD | Powers the Switch 2 setup |
| USB-A | Connects compatible accessories |
With this setup, HDMI output to the display supports up to 4K30, while the capture signal sent to OBS supports up to 1080p60. That’s an important distinction. Your TV output and your OBS recording are two different signal paths.
Setup 2: Record Directly to Your Laptop


Use the 1080p USB-C Video Capture Card
If you don’t need a TV, this setup is simpler. The basic connection is:
Switch 2 → USB-C Capture Card → Laptop
Add power through the capture device as required, then open OBS.
Your laptop becomes both:
- the capture computer
- the gameplay preview screen
That means fewer devices and a cleaner setup.
We Tested This Setup in OBS Too
We didn’t just connect the hardware and assume it worked. OBS detected the CABLETIME device in the Video Capture Device menu.
After selecting it, live Switch 2 gameplay appeared in the OBS preview.
In our test, OBS showed the capture device as Cabletime USB, and Mario Kart gameplay appeared normally in the preview window.
This is also a useful troubleshooting check.
If your gameplay does not appear, first make sure OBS can actually see the capture hardware in the Device menu.
How to Add Switch 2 to OBS
The OBS setup is almost identical for both CABLETIME capture options.
Step 1: Open OBS
Launch OBS Studio on your laptop or desktop. Create a new Scene if you don’t already have one.

Step 2: Add a Video Capture Device
Under Sources, click the + button.
Choose: Video Capture Device, Do not choose: Game Capture, Display Capture,Window Capture
For this setup, you want Video Capture Device.
Step 3: Create the Source
Choose Create New. You can name it something simple, such as: Switch 2, Then click OK.

Step 4: Select the CABLETIME Capture Device
Open the Device dropdown. Select the CABLETIME capture device. Depending on the hardware and system, the device name may vary.
In our test, one of the devices appeared as: Cabletime USB/Cabletime
Step 5: Check the Gameplay Preview

Once you select the correct device, the Switch 2 image should appear in OBS.
If you can see the game moving in the preview, the basic capture connection is working. At this point, you can resize the source to fit the canvas and move on to recording settings.
Recommended OBS Settings for Switch 2
For a simple recording setup, we recommend 1080p at 60fps.
| OBS Setting | Recommended |
| Source Type | Video Capture Device |
| Base Canvas | 1920 × 1080 |
| Output Resolution | 1920 × 1080 |
| FPS | 60 |
| Recording Format | MKV or MP4 |
| Encoder | Hardware encoder if available |
If your laptop has a hardware video encoder, using it can reduce CPU load during longer recordings. Also, check your recording folder before starting. Gameplay recordings can use a lot of storage space.
4K on the TV Does Not Mean 4K Recording
This is easy to misunderstand. With the 5-in-1 Hub Capture Card, the signal going to your TV and the signal going into OBS are not the same thing.
The tested product supports:
HDMI output to TV / monitor: up to 4K30
Capture to OBS: up to 1080p60
So even if your display is receiving a higher-resolution signal, your OBS recording is still captured at up to 1080p60. For YouTube gameplay, tutorials, accessory reviews, livestreams, and social clips, 1080p60 is a practical format. If you specifically need professional 4K60 HDR capture, you’ll need a different capture solution designed for that workflow.
How to Get Game Audio in OBS
Got video but no sound? That’s a common OBS setup issue. First, check the Audio Mixer. Make sure the capture source isn’t muted. If you still can’t hear the game:
1. Open Advanced Audio Properties.
2. Find the capture device.
3. Set Audio Monitoring to Monitor and Output if needed.
4. Make sure your laptop volume is turned up.
Check that Windows is using the correct audio output device.
If you change audio settings and still have no sound, reconnect the capture device and restart OBS.
OBS Shows No Signal? Try These Fixes
If your Switch 2 does not appear in OBS, go through these checks in order.
1. Check the Charger
For Switch 2 TV or capture mode, use a 39W or higher PD charger. Not enough power can cause display or capture problems.
2. Check the Source Type
In OBS, make sure you added:
Video Capture Device and not another source type.
3. Select the Correct Device
Open the Device dropdown. Look for the CABLETIME capture device. If you see your laptop webcam instead, you’ve selected the wrong source.
4. Try Another USB Port
Disconnect the capture device and try another suitable USB port on the laptop. Then reopen OBS.
5. Close Other Camera Apps
Another program may already be using the capture device.
Close apps such as: Camera/Teams/Zoom/Discord/other recording software, Then try OBS again.
6. Reconnect and Restart OBS
If everything looks correct but you still see a black screen:
- Close OBS.
- Disconnect the capture device.
- Reconnect it.
- Open OBS again. Simple, but often effective.
Why Does the OBS Preview Feel Delayed?
A small amount of preview delay is normal. The signal has to travel through the capture device, enter your computer, and then be processed by OBS before you see it. That’s why we recommend the 5-in-1 Hub setup if you’re playing a fast game.
Use: TV / monitor → gameplay and: Laptop / OBS → recording, You don’t need to play through the OBS preview.
Which Setup Is Better for Travel?
If portability matters most, the smaller USB-C Video Capture Card is the easier choice.
You don’t need:
- a separate TV
- an HDMI display connection
- a larger desktop setup
Your laptop becomes the main screen and recording device.
That makes it useful for: travel, small desks, quick gameplay recording, product demos, short recording sessions
For a permanent gaming desk, though, the 5-in-1 Hub gives you more flexibility.
The 5-in-1 Hub Can Do More Than Capture
The 5-in-1 model also works as a USB-C hub with compatible devices.
Depending on the host device, you can use it for:
- HDMI display output
- USB accessories
- USB storage
- PD charging
- laptop expansion
- compatible handheld gaming devices
Keep in mind that normal USB-C display output still depends on the connected device supporting video over USB-C. A USB-C port does not automatically mean video output is supported.
Which One Should You Buy?
Here’s the simplest recommendation.
Choose the 5-in-1 USB-C Hub Capture Card if:
- you want to play on a TV
- you want OBS recording on a laptop
- you need HDMI outputyou want extra USB ports
- you want capture and hub functions in one device
Choose the USB-C Video Capture Card if:
- you want a smaller setup
- your laptop will be your preview screen
- you don’t need HDMI passthrough
- you want fewer cables
- portability matters more than expansion
Again, both can record Switch 2 gameplay in OBS. The difference is the setup around them.
What We Learned From Testing Both
After testing both CABLETIME capture solutions with Switch 2 and OBS, our conclusion is pretty simple:
Both work for 1080p60 Switch 2 capture.
The 5-in-1 Hub Capture Card is better when you want a traditional gaming setup:
Switch 2 → TV for playing + Laptop for OBS
The smaller USB-C Video Capture Card is better when you want:
Switch 2 → Laptop for preview + OBS
Neither setup is universally better. They solve two different needs. For most desk setups where you already have a TV or monitor, we prefer the 5-in-1 Hub because you can play normally while OBS records in the background. For travel or a smaller workspace, the compact capture setup keeps things simple.
Can I record Switch 2 gameplay with OBS?
Yes. Connect the Switch 2 to a compatible capture device, add it in OBS as a Video Capture Device, and start recording.
Do both CABLETIME capture products work with OBS?
Yes. Both products covered in this guide can be used to capture Switch 2 gameplay in OBS. The main difference is whether you want TV output or a simpler laptop-based setup.
What resolution can I record?
Both setups in this guide support capture up to 1080p60.
Can I play on a TV while recording?
Yes. Use the 5-in-1 USB-C Hub Capture Card. It can send video to a TV or monitor while the laptop records through OBS.
Can I record without a TV?
Yes. Use the compact USB-C Video Capture Card and use your laptop as the preview and recording device.
Do I need a PD charger?
Yes. For Switch 2 TV or capture operation, use a 39W or higher PD charger.
Why is OBS showing my webcam instead of Switch 2?
Open the Video Capture Device properties and select the CABLETIME capture device from the Device dropdown.
Why is there no audio?
Check the OBS Audio Mixer and Advanced Audio Properties. Make sure the capture device is not muted and select Monitor and Output if you need to hear the gameplay through your computer.


