





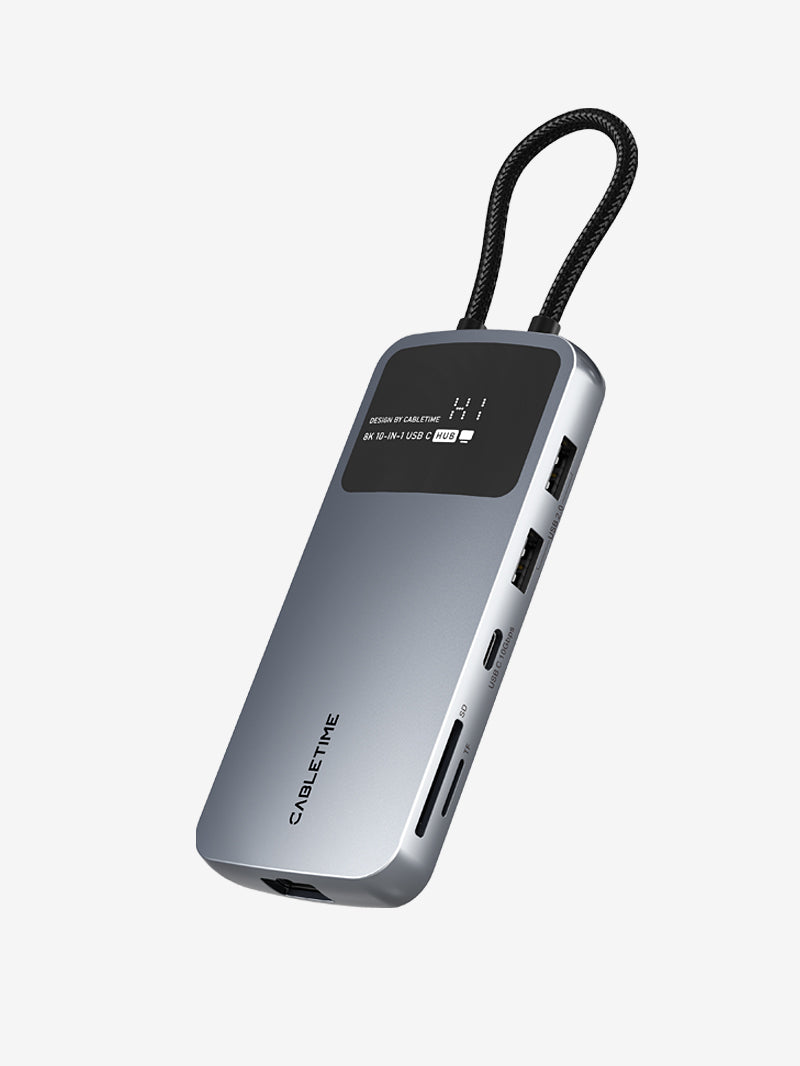
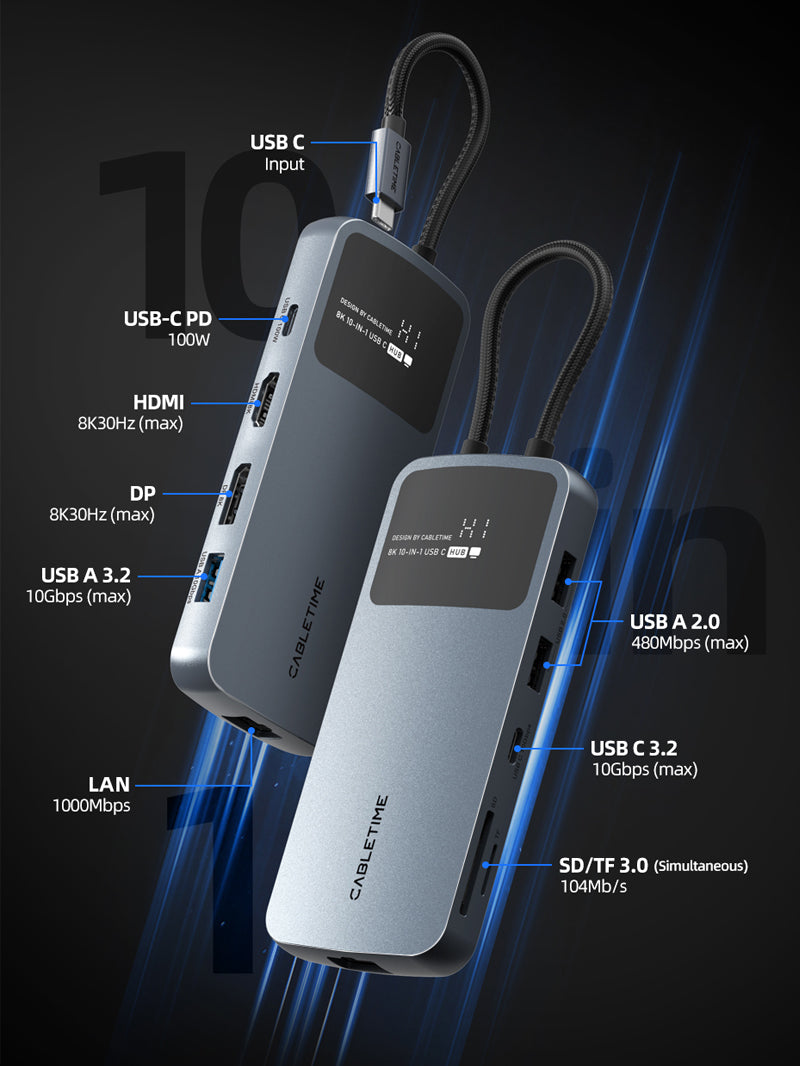
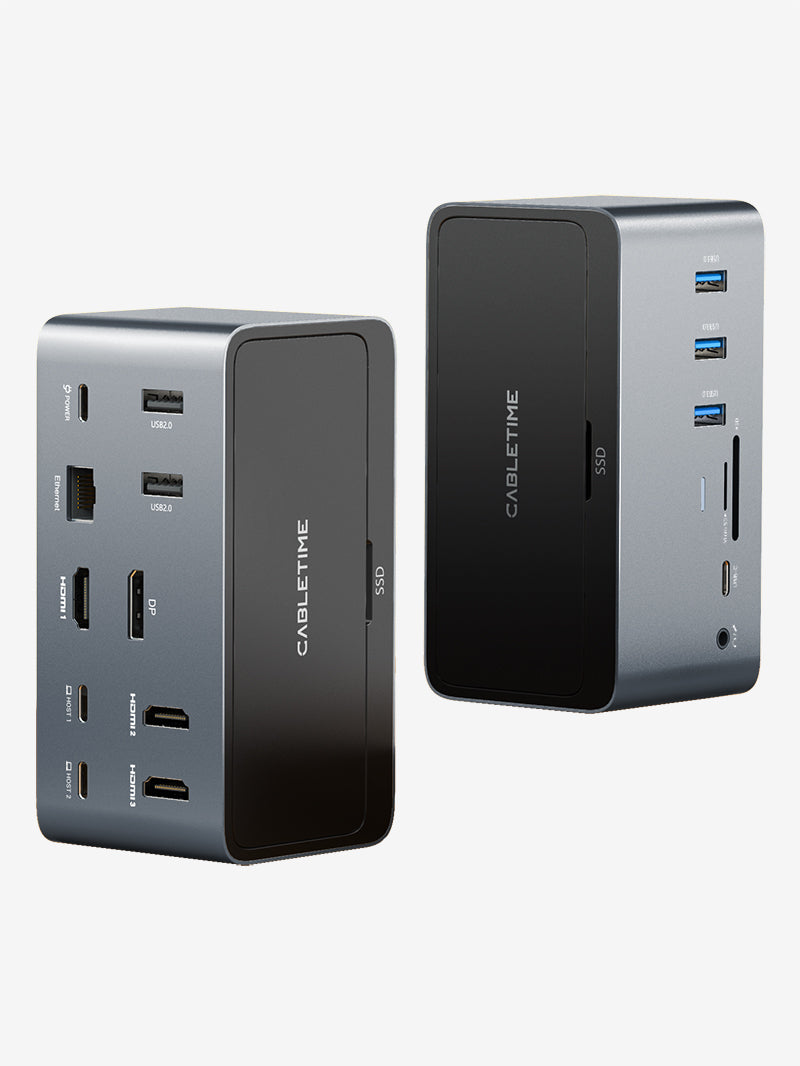
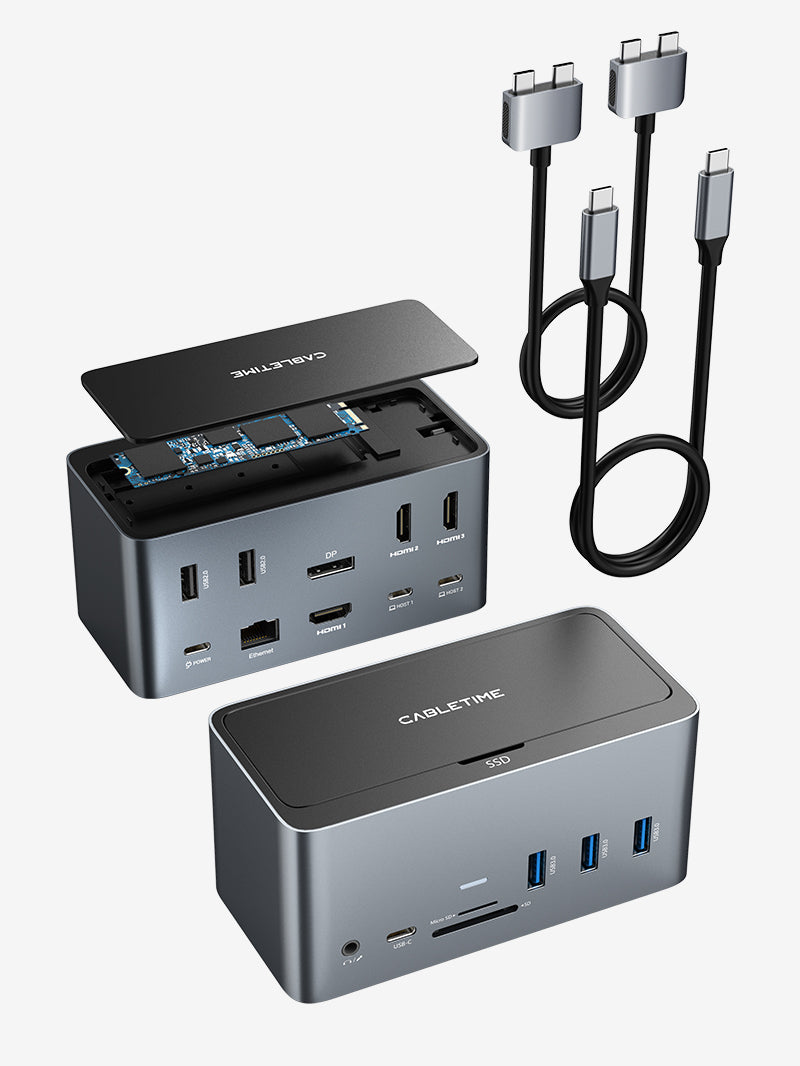


Connect ScreenDock to your computer
ScreenDock adds a small display and connection ports to your computer. Start by connecting the dock and installing USB Display, the software that enables the small screen. You can then keep the same picture on both screens or choose different windows for each screen.
- 1. Connect ScreenDock to your computer
- 2. Before you connect
- 3. Connect the cable
- 4. Choose the setup for your computer
- 5. Install USB Display on Windows
- 6. Install USB Display on Mac
- 7. Allow USB Display screen access on Mac
- 8. Extend your desktop and move a window
- 9. Show an app on ScreenDock
- 10. Use the clock shown in the video
- 11. Connect an HDMI monitor and adjust your screens
- 12. Connect the HDMI display
- 13. Check the computer port and display mode
- 14. Adjust the small screen
- 15. Charge your laptop and connect USB devices
- 16. Copy files from a card and connect to a wired network
- 17. Connect to a wired network
- 18. Disconnect and store ScreenDock
-
19. Get help when something does not work
- 19.1 The built-in screen is blank
- 19.2 The installation prompt does not appear
- 19.3 Both screens show the same picture
- 19.4 A window will not move onto ScreenDock
- 19.5 The HDMI monitor has no picture
- 19.6 The laptop charges slowly or loses battery power
- 19.7 A USB accessory disconnects or is not recognized
- 19.8 The Ethernet connection has no internet access
- 19.9 The small screen stops working after a system update
- 19.10 A clock or meeting window is missing
- 20. Drivers and support
Before you connect
Use the supplied cable and a computer USB-C port that supports both USB data transfer and video output via DisplayPort Alt Mode. If you replace the cable, make sure it supports both data and video; a charge-only cable will not work.
You will need permission to install USB Display. If you use a work computer that blocks installation, ask your IT team for help.

Connect the cable
1. Place ScreenDock on your desk. Hold the base and gently open the screen.
2. Find the USB-C port labeled HOST on the dock. Connect one end of the supplied USB-C cable to HOST.
HOST is the computer connection. In this view it sits between PD 100W and the card slots.
3. Connect the other end directly to your computer’s USB-C port. Turn on the computer and sign in.
Keep HOST connected throughout setup. Leave the dock’s other ports empty for now. You do not need to add a charger to install USB Display. A charger alone cannot show computer content on the small screen.

Note: If ScreenDock shows a blue USB Display setup screen with a QR code, the QR code is currently not working and will be updated. Download the Windows or Mac USB Display driver from the ScreenDock product page instead.
Open the ScreenDock product page to download the driver
Choose the setup for your computer
Windows: follow “Install USB Display on Windows” below. After setup, the small screen mirrors your computer screen, showing the same picture.
Mac: follow “Install USB Display on Mac”, then allow USB Display under Privacy & Security → Screen Recording. The small screen then mirrors your Mac screen.
After installing USB Display, allow about 30 seconds for ScreenDock’s small screen to start displaying. Keep HOST connected while you wait. To show different windows on the two screens, use the instructions under “Extend your desktop and move a window”.
Install USB Display on Windows
Keep the HOST cable connected while you install USB Display. The menu names below are for Windows 11.


Install the driver
1. After you connect ScreenDock, the USB Display installation prompt normally appears. Click Run USBDisplay.exe. If no prompt appears, use the download instructions below.
Choose Run USBDisplay.exe. This source computer uses a Chinese interface; the executable name is the same.
2. Follow the installation wizard. If Windows asks to allow changes, check that you opened the installer from ScreenDock or the official product page before allowing it.
3. When installation finishes, click Finish.

4. Wait about 30 seconds for ScreenDock’s small screen to start displaying. Keep the HOST cable connected while you wait.
You should now see the same picture on your computer and ScreenDock. This is mirror mode. To put a different window on ScreenDock, follow “Extend your desktop and move a window”.
If the installation prompt does not appear
1. Open the ScreenDock product page linked below and download the Windows USB Display driver.
Open the ScreenDock product page to download the driver
2. Open the downloaded package. If it is a RAR archive, extract its contents with a RAR-compatible tool first.
3. Open the installer from the extracted files and follow the installation wizard. Click Finish when it completes.
After installation, allow about 30 seconds for the small screen to start displaying. Keep HOST connected. If it is still blank after this wait, follow “The built-in screen is blank” in the troubleshooting section.
Install USB Display on Mac
Keep HOST connected. On Mac, there are two parts to setup: open USB Display, then allow its Screen Recording permission. The small screen may stay blank until both are complete.
The current Mac driver lists macOS 11.0 as its minimum. Check the requirements of the driver you download for your Mac.


Open USB Display
1. After connecting ScreenDock, open the USB Display window or double-click the USB Display drive icon that appears. The example drive is named USB Display-1.1. If neither appears, use the download instructions below.
2. Double-click the app named USB Display inside that window.
Open the app named USB Display inside the drive.
3. If asked to move the app, click Move to Applications Folder. If no prompt appears, copy USB Display into Applications and open it from there.
Choose Move to Applications Folder if this prompt appears.
When USB Display asks for screen access, follow “Allow USB Display screen access on Mac” below.
If the USB Display window or drive icon does not appear
1. Open the ScreenDock product page linked below and download the Mac USB Display driver.
Open the ScreenDock product page to download the driver
2. Open Downloads in Finder. Double-click the downloaded ZIP file to extract USB Display.app.
3. Move USB Display.app into Applications, then open it. Continue with the Screen Recording permission steps below.
If macOS blocks the app, confirm that it came from the official product page and contact CABLETIME or your administrator for help. Do not disable system security protections.

Allow USB Display screen access on Mac
macOS calls this permission Screen Recording. USB Display needs access to your screen content to send it to the dock display.
Enable the permission
1. In the permission prompt, click Open System Settings. If you already closed it, open the Apple menu → System Settings → Privacy & Security.
Click Open System Settings to reach the permission controls.
2. Open Screen Recording. On some versions, it is named Screen & System Audio Recording. Scroll the app list until you find USB Display.
3. Turn on the switch beside USB Display. Check the app name carefully; giving another display app permission will not enable USB Display.
USB Display is the row to enable. Its switch is off in this source frame; click it so it turns on.
4. If asked, approve the change with Touch ID or your Mac account password. Enter it only in the macOS prompt.
5. If macOS offers Quit & Reopen, click it. Otherwise, reopen USB Display from Applications after completing the permission change.
The small screen can take about 30 seconds to start displaying after USB Display installation. Make sure Screen Recording permission is enabled and USB Display is running. When the picture appears, it mirrors your Mac screen. To show different windows, follow “Extend your desktop and move a window” below.
If you cannot find the app or setting
If USB Display is missing from the permission list, open it once from Applications, then check again. On older macOS versions, use System Preferences → Security & Privacy → Privacy → Screen Recording. A managed Mac may need your administrator’s help.
Extend your desktop and move a window
After setup, ScreenDock mirrors your computer screen. To show a different window on the small screen, switch to Extend in your computer’s display settings below. Keep mirroring if you want the same picture on both screens.
Choose Extend on Windows
1. Right-click an empty area of the desktop and click Display settings. Click Identify to show the screen numbers.
2. Choose Extend these displays in the display-mode menu. If needed, expand Multiple displays to find it. Click Keep changes if asked.
3. Drag the numbered screen boxes so they match your desk. For example, put ScreenDock’s box on the right if the dock sits to your right. Click Apply.
Choose an extended display on Mac
1. Open the Apple menu → System Settings → Displays. Select the ScreenDock display.
2. Set Use as to Extended display. Click Arrange and move its box to match where ScreenDock sits on your desk. Click Done if shown.
Show an app on ScreenDock
Make sure you have selected Extend mode in your computer’s display settings. You can then keep one app on ScreenDock while working on your main screen.
1. Open the app you want to use, such as your calendar, on your computer. If it fills the screen, return it to a smaller window so you can move it.
2. Drag the window by its top bar onto ScreenDock. For example, if ScreenDock is positioned to the right in your display settings, drag the window past the right edge of your main screen.
3. Release the window when it appears on ScreenDock, then resize it to fit.
Your calendar can now stay on ScreenDock while you use a document or browser on your main screen. You can move a clock, task list or meeting window in the same way. Keep your computer connected and USB Display running. Online apps may also need an internet connection and sign-in.
Use the clock shown in the video
The clock styles shown in the video come from MDClock, a separate app that requires a paid subscription. MDClock is not built into ScreenDock. You do not need an MDClock subscription to show your calendar, meeting app or other computer windows on ScreenDock.

Connect an HDMI monitor and adjust your screens
You can add a monitor, TV or projector through the dock’s HDMI port. With a laptop, this gives you three screens: the laptop screen, ScreenDock’s small screen and one HDMI display.
Connect the HDMI display
1. Keep ScreenDock connected to your computer through HOST. Connect an HDMI cable from the dock’s HDMI port to an HDMI input on the external display.
2. Turn on the external display. Use its input or source controls to choose the HDMI input you connected, such as HDMI 1.
3. Keep the laptop lid open during setup. On Windows, open Settings → System → Display. On Mac, open System Settings → Displays. Select the external display and choose an extended display mode.
4. Arrange the screen boxes to match the screens on your desk. You can then drag windows between them. To show the same picture instead, choose a mirror or duplicate option in the display settings.
Example setup with the laptop, small screen and one HDMI monitor.
Check the computer port and display mode
The computer’s USB-C port must support video output through DisplayPort Alt Mode, and the HOST cable must support data and video. The small screen uses USB Display software, while an HDMI monitor needs video output from the computer’s USB-C port. If the small screen works but the HDMI monitor is blank, check the computer port and HDMI connection.
The dock’s HDMI output supports up to 4K at 60Hz with a compatible computer, HDMI cable and display. ScreenDock’s built-in screen is 1280 × 720 at 60Hz. For a blank HDMI display, follow “The HDMI monitor has no picture” in the troubleshooting section.

Adjust the small screen
Beside the black USB-A port: the brightness button is on the left, POWER on the right.
Use the brightness button beside the USB-A ports to choose from three brightness levels. Use the separate POWER button to turn the built-in screen off or on. Hold the base while gently adjusting the screen angle.
When you turn the small screen back on, make sure your computer is awake and USB Display is running.
Charge your laptop and connect USB devices
Charge your laptop through ScreenDock
The dock’s PD 100W port is for a USB-C PD charger. The charger is sold separately. Your laptop must support USB-C PD charging.
1. Plug the charger into a power outlet.
2. Connect the charger’s USB-C port to the dock’s PD 100W port using a USB-C charging cable rated for the power you need.
3. Keep the laptop connected to HOST. Check the laptop’s battery icon or power settings to confirm that it recognizes external power.
The charger supplies power to the dock, which passes power to the laptop through HOST. The dock accepts up to 100W input and supplies up to 85W to a compatible laptop. The 100W input rating does not mean that 100W reaches the laptop.
Actual charging depends on the charger, cables, laptop and its power use. With a multiport charger, other connected devices may share the available power. If your laptop needs more than 85W while working, it may still use its battery; use the power connection recommended by the laptop manufacturer when necessary.
You can install USB Display with HOST alone. To charge the laptop through ScreenDock, add the charger to PD and keep HOST connected. The charger does not replace the HOST connection.
Connect a mouse or keyboard
1. Plug the accessory into the black USB-A port labeled 480Mbps.
2. Wait for your computer to recognize it. Try moving the mouse or typing in an app to check that it works.
Open files on a USB drive
1. Connect a USB flash drive or external drive to the blue USB-A 5Gbps port or the USB-C 5Gbps data port.
2. On Windows, open File Explorer → This PC. On Mac, open Finder and look under Locations. Open the drive to access its files.
3. When you finish, close files using the drive and safely eject it before unplugging. On Windows, use Safely Remove Hardware in the taskbar notification area. On Mac, click the Eject icon beside the drive in Finder.
The three USB-C ports have different jobs: HOST connects the computer, PD connects the charger, and 5Gbps connects a data accessory such as a drive. The 5Gbps rating is a maximum link rate. Actual file-transfer speed also depends on the drive, files and shared connection to the computer.
Copy files from a card and connect to a wired network
Read an SD or microSD card
1. Use the SD slot for an SD card or the TF slot for a microSD card. Check the card’s orientation and insert it gently. Do not force it.
2. On Windows, open File Explorer → This PC. On Mac, open Finder and look under Locations. Open the card to view or copy its files.
3. Finish any transfers and close files using the card. Safely eject it before removal, using the Windows taskbar removal control or the Eject icon beside it in Finder.
If the computer asks to format a card containing important files, click Cancel. Check the card before taking any action that could erase it.
To show a photo on ScreenDock, open it in a photo app on your computer. In Extend mode, drag the photo window onto the small screen. Inserting a card does not start a slideshow automatically.
Connect to a wired network
1. Plug an Ethernet cable into the dock’s LAN/RJ45 network port. Connect the other end to a router, switch or active Ethernet wall port.
2. On Windows, open Settings → Network & internet. On Mac, open System Settings → Network. Check the Ethernet connection status.
3. Open a web page to check internet access. If you are on an office network, you may need a sign-in or settings from your IT team.
Office networks may require authentication, an assigned address or proxy settings. The Ethernet port supports up to 1Gbps with suitable network equipment, cabling and settings. This rating does not guarantee the same internet download speed.
The network socket is at the far left. SD and TF card slots sit between HOST and the USB-C 5Gbps port.
Disconnect and store ScreenDock
Save your work, finish file transfers and safely eject connected drives and cards before unplugging HOST. Hold the base while closing the screen. Pull plugs by their housings rather than pulling the cables.
Disconnect the dock before cleaning it with a soft, dry cloth. Keep liquids out of the ports and avoid pressing on the screen.
Get help when something does not work
The built-in screen is blank
1. If you have just installed USB Display, keep HOST connected and wait about 30 seconds for the small screen to start displaying.
2. Make sure your computer is awake and signed in.
3. Check that the supplied cable connects the dock’s HOST port directly to the computer.
4. Make sure USB Display is installed and running. On Mac, allow it under Privacy & Security → Screen Recording, then reopen the app.
5. Check that the built-in screen is turned on using the POWER button.
The installation prompt does not appear
Open the ScreenDock product page linked below. Download and install the driver for Windows or Mac. On Mac, also allow USB Display under Privacy & Security → Screen Recording.
Both screens show the same picture
This is the normal mirror mode after installation. To show different windows, select an extended display mode in your computer’s display settings, then move an app window onto ScreenDock. Follow “Extend your desktop and move a window” for the steps.
A window will not move onto ScreenDock
Make sure you have selected Extend. Check that the screen boxes in display settings match your desk. If ScreenDock’s box is on the right, drag the window across the right edge of your main screen. In Extend mode, wallpaper alone can mean no window has been moved onto ScreenDock yet.
The HDMI monitor has no picture
1. Turn on the external display and select the HDMI input you connected.
2. Check both ends of the HDMI cable and the HOST connection to your computer.
3. Confirm that the computer’s USB-C port supports video output through DisplayPort Alt Mode and that the HOST cable supports data and video.
4. Select the external display in your computer’s display settings and try a lower resolution or refresh rate supported by the computer, cable and monitor.
The built-in screen uses USB Display software. Its working picture does not confirm that the computer can send video to an HDMI monitor through its USB-C port.
The laptop charges slowly or loses battery power
Check that the charger connects to PD and the laptop connects to HOST. Check the charger’s available output and the power rating of its cable. ScreenDock supplies up to 85W to a compatible laptop. If your laptop needs more power while working, use the power connection recommended by its manufacturer.
A USB accessory disconnects or is not recognized
Check HOST and the accessory’s connection. Disconnect unnecessary accessories, then reconnect them one at a time. If a storage drive is not recognized, test it directly on the computer to check the drive and its cable. Also check the charger and cables if power is unreliable.
The Ethernet connection has no internet access
Check that the other end of the Ethernet cable connects to an active network port. Check the Ethernet status in your computer’s network settings. On an office network, ask IT whether you need authentication or specific settings.
The small screen stops working after a system update
Reopen USB Display. On Mac, check its Screen Recording permission again. If you need to reinstall the driver, use the version for CT-DKS9-PW and your operating system from the product page.
A clock or meeting window is missing
First try opening another app and moving its window onto ScreenDock in Extend mode. If that works, check that the clock or meeting app is open, signed in and online where required. Then move its window onto ScreenDock again.
Drivers and support
Download USB Display for Windows
Open the ScreenDock product page
For help, email support@cabletimetech.com. Include the model CT-DKS9-PW, your computer model, operating system and driver versions, and a connection photo or problem screenshot. Say which functions work and which do not. Remove private account details from images before sharing them.
ScreenDock has a two-year warranty, subject to your purchase channel and the current CABLETIME warranty policy. If it is damaged, smells unusual or becomes excessively hot, stop using it and contact support.


