


MacBook Airs were built to be light and thin without sacrificing performance and battery life. However, the M1 and M2 MacBook Airs have one significant drawback: they only support one external monitor natively.
This limitation can affect various workflows, such as design, multimedia, and trading, that may require multiple monitor connections. Fortunately, there is a solution to this issue for those who wish to use multiple monitors in their workflow. This guide will cover everything you need to know to utilize dual monitors with your MacBook Air with an M1 or M2 chip. Without further delay, let's delve right in!
- 1. Hardware Requirements for Connecting Dual Monitors
- 2. Suggestions for Choosing a Dock or Hub
- 3. Common Failures or Abnormalities
- 4. Conclusion
Hardware Requirements for Connecting Dual Monitors
Before creating a dual-monitor setup with your MacBook Air, here is what you need;
Monitors
When choosing the monitor, these are the key factors to consider
- Brand: The choice of brand can impact the build quality, user experience, button placement, and additional features like built-in speakers and webcams. For instance, there are some monitors that come with built-in speakers, whereas some don’t.
- Resolution: Monitors come in various resolutions, commonly Full HD (1080P) or 4K. Opting for 4K resolution delivers a superior visual experience. There are also a few 5K models in the market, but they’re very expensive (over $1500).
- Refresh Rate: This determines screen smoothness during app navigation or gaming. Most users should be fine with the standard 60Hz monitors. However, for gamers and users who value a much smoother scrolling experience, higher refresh rates like 120Hz can make a difference.
- Connection Interfaces: Monitors typically offer interfaces like DisplayPort, HDMI, or USB-C (thunderbolt). The selection of these ports affects the required cables. Most monitors feature multiple interface options.
Connection Cables
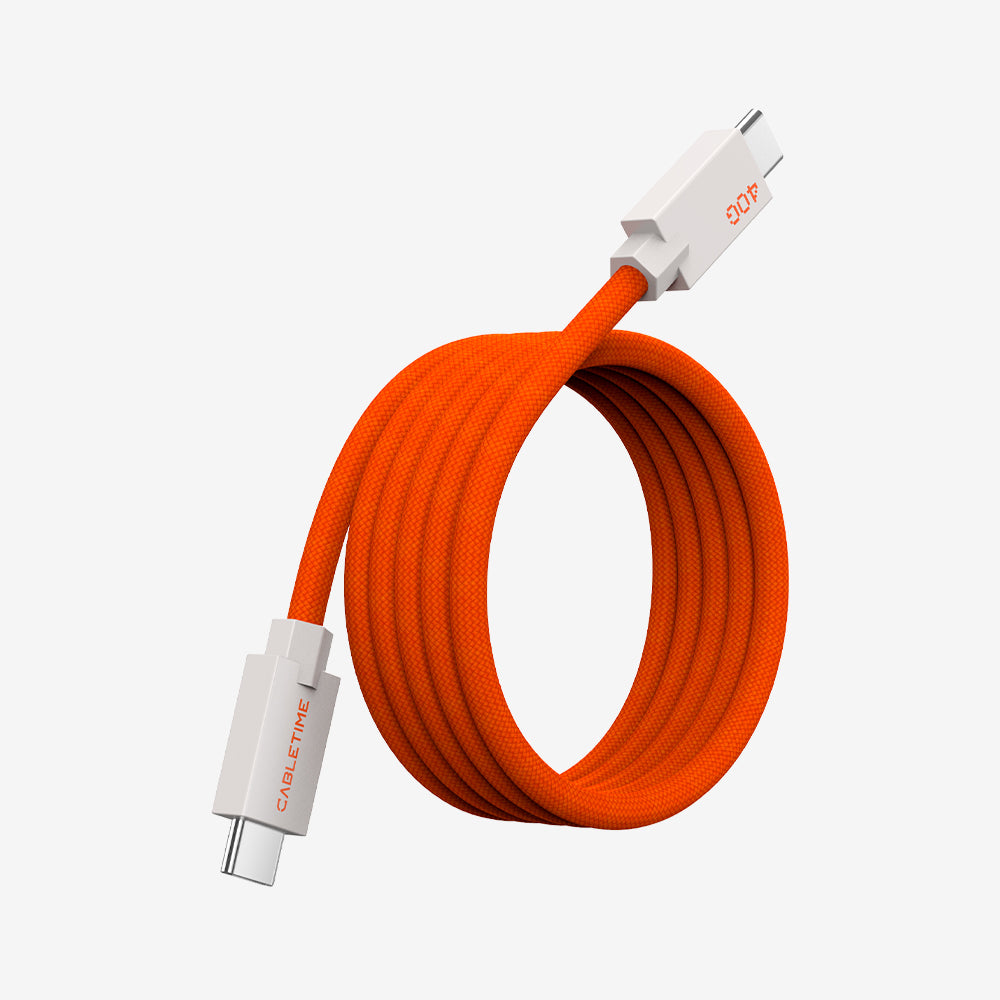
Selecting the appropriate cable is crucial for linking your MacBook Air and external monitors. The choice depends on the connection interfaces supported by your monitor and docks. Common types include USB-C to HDMI, USB-C to DisplayPort, and USB-C to USB-C. You must also choose a cable with an appropriate length, depending on how you intend to arrange your setup.
Dock or Hub
When selecting a hub, several factors come into play:
- Connection Interfaces: Ensure compatibility with the types of interfaces your monitors use.
- Number of Ports: Sufficient ports for your peripherals and devices are essential.
- Maximum Display Support: Check compatibility with the M1/M2 MacBook Air's capacity for multiple displays.
- Drivers support: For compatibility with the M1/M2 Air, verify that your hub/docks supports DisplayLink and InstantView software. These functionalities are necessary to connect more than one monitor to these Mac models.
The characteristics and limitations of M1/M2 chips on MacBook Air
Although the M1 and M2 chips in MacBook Airs have impressive power, they face limitations in display output that may hinder workflows demanding multiple monitors. Due to having only two display buffers, users are restricted to connecting just one external display. Expanding beyond this limit requires utilizing a supported docking station, with procedures outlined in the next section.
Hardware Connection Steps and Software Settings
Step 1: Install Necessary Drivers
Connecting two monitors to your M1/M2 MacBook Air involves installing specific drivers and leveraging a combination of technologies within multi-display docks. While the MacBook Air natively supports a single external display via USB-C Alternate Mode, the addition of DisplayLink or InstantView technologies serves as a workaround, allowing users to connect a second monitor through software-driven support. Before choosing between the two, you need to ensure it is supported by the hub or dock you want to use.
Option 1: Download and install DisplayLink Drivers
Visit the official DisplayLink website and download the latest Mac-compatible DisplayLink driver. With drivers with Macs running macOS Monterey or newer. Make sure you download the latest version of the DisplayLink Manager Graphics Connectivity App. This application can be accessed by going to your app drawer or searching for it using Spotlight Search.

After downloading the driver, you will need to make some extra configurations in order to make it work. Most importantly, you need to grant Screen Recording permissions to DisplayLink Manager.
- Access this setting via System Preferences or System Settings > Security & Privacy > Privacy > Screen Recording.
- You should then unlock the padlock by providing the admin password, and then select and enable Screen Recording permission for DisplayLink Manager (as shown in the above image).
- After making these changes, restart the DisplayLink Manager application to ensure that the changes take effect and the software functions correctly.
Option 2: SiliconMotion’s InstantView
Just like DisplayLink, InstantView technology by SiliconMotion also allows you to connect more than one display to your MacBook Air if you have a supported hub/dock. InstantView supports specific hardware hubs and adapters for multi-screen setups. It generally offers a simpler initial setup compared to DisplayLink but still requires security and privacy settings for screen recording.
To get started;
- Download the latest version of InstantView software from the official source. This app supports Macs running macOS Big Sur 11 or newer.
- Install the app by running the DMG file downloaded on your machine
- Give InstantView video recording permission by going to System Preferences or System Settings > Security & Privacy > Privacy > Screen Recording. You should then toggle the on/off button to the on position.
- Finally, you will be prompted to quit and restart the app. Accept this prompt.
Step 2: Connect Dock/Hub to Mac

After fully installing the necessary drivers, the next step is connecting your Mac to a Dock or Hub. Choose a compatible dock or hub suitable for your multi-monitor setup needs. While purchasing a hub, it is crucial to choose one that supports DisplayLink or InstantView drivers. Connect the selected dock or hub to your MacBook Air using a suitable cable. Ensure compatibility between the dock's interfaces (such as DisplayPort, HDMI, USB-C) and the available ports on your MacBook Air.
Step 3: Connect the Monitors
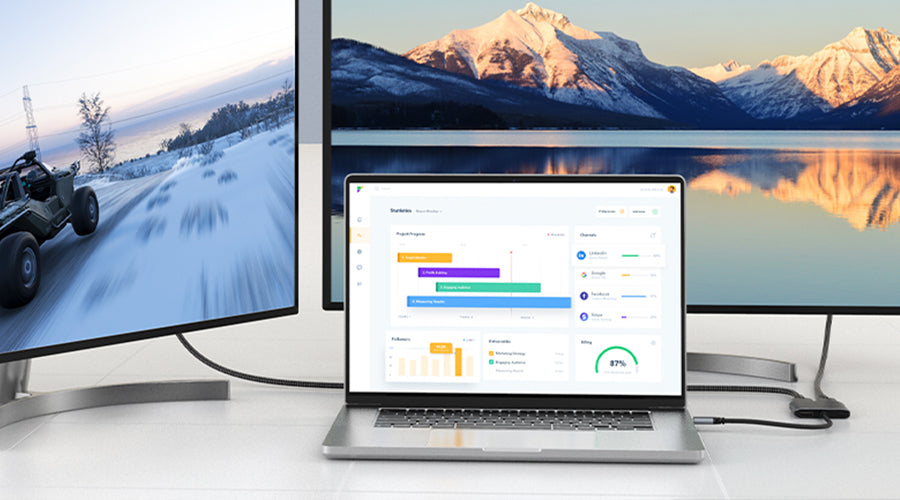
After connecting your dock to the Mac, you should now connect your two monitors to the dock using the appropriate cables. First, utilize the dock's DisplayPort or HDMI Port to connect the first external monitor. This connection is natively handled by the M1/M2 MacBook Air. For the second and third external displays, use the remaining display or HDMI ports on the dock.
These additional screens will rely on either DisplayLink or InstantView software for their functionality. The DisplayLink or InstantView software you installed employs installed drivers and utilizes the MacBook Air's CPU/GPU to convert and transmit graphics data as data packets for output to the external monitors.
Step 4: Final Configurations
Configuring your dual-monitor setup involves making some more configurations to ensure a seamless and tailored experience. You can make these changes via your display settings through System Preferences (macOS) or System Settings. If you have external monitors connected, they will appear under the display settings. First, you can adjust scaling options to optimize text and visuals for comfortable viewing on each monitor, ensuring an ideal display size.
You also need to choose between extending displays or mirroring them. Extending offers independent screens, enabling multitasking by displaying different content on each monitor. Meanwhile, mirroring duplicates content across both screens. This option might be useful for presentations or content sharing.
Additionally, customization options for brightness, contrast, and color temperature further refine your viewing experience, ensuring a personalized and productive workspace across your dual monitors. These customizations can be done using the monitor’s built-in UI, and its manual controls.
Suggestions for Choosing a Dock or Hub
As stated earlier, you will need to choose the right dock or hub for the best dual monitor experience. Let’s explore in detail some of the crucial factors you must consider;
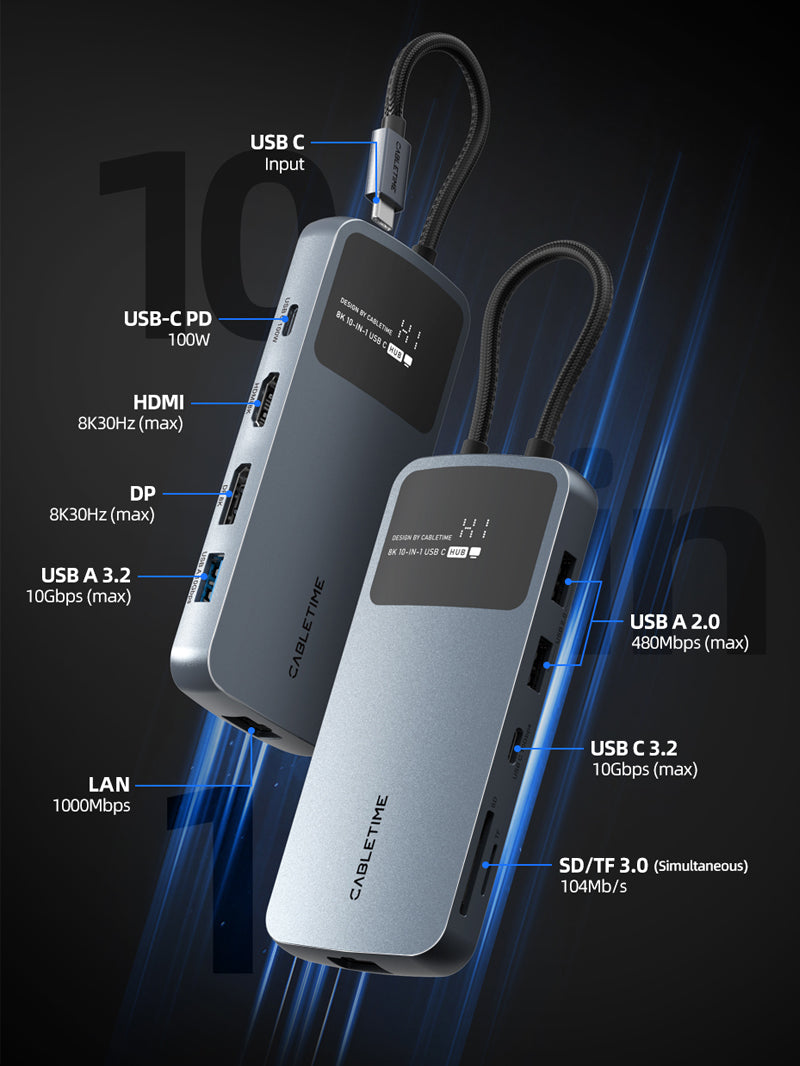
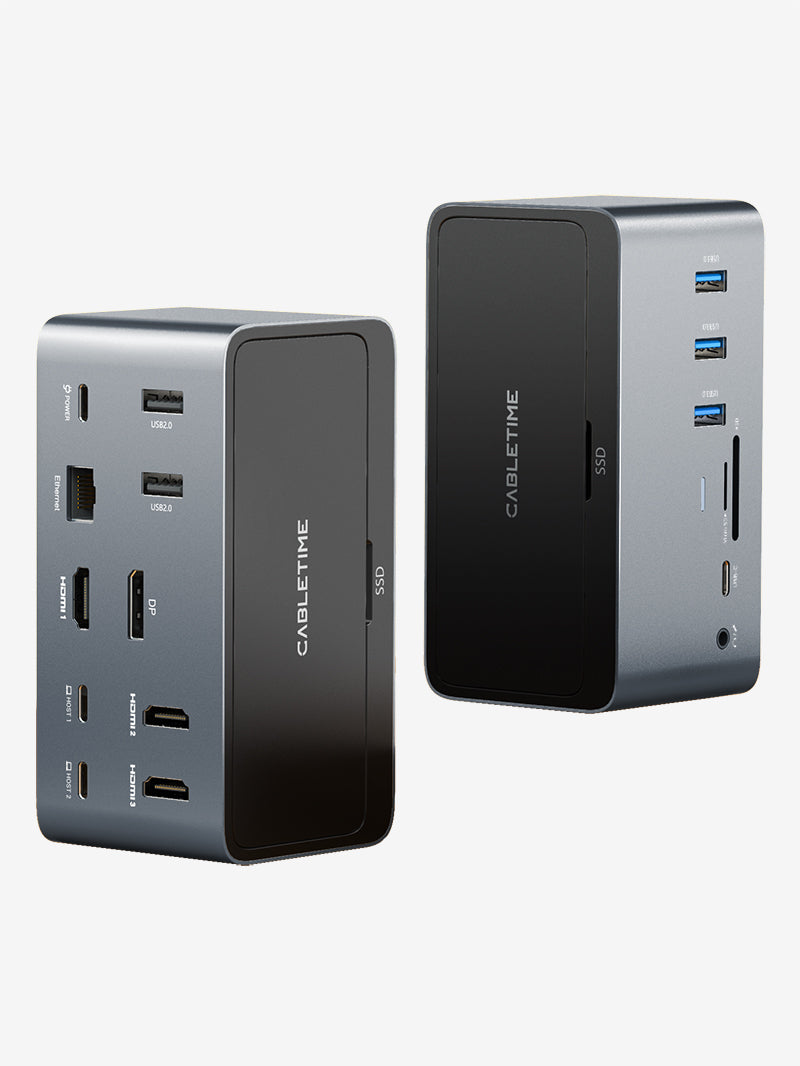
- Port Selection: The selected dock or hub must feature the necessary ports in both type and number that align with your needs. Ensure it offers a diverse range, including HDMI, DisplayPort, USB-C, USB-A, Ethernet, etc., to accommodate your devices and peripherals.
- Connectivity: Docks are available with connections specifically tailored for Type-C or Thunderbolt interfaces. Since the MacBook Airs have only two Type-C ports, ensure to choose a dock or hub that is compatible with USB-C
- Portable vs. Stationary Use: Stationary docks or hubs are ideal for fixed setups like a home office, offering a comprehensive array of ports. If you only want to use it for the monitor setup, a stationary can work since they usually offer more ports. However, if you need to also use the hub on the go to get extra ports on your Mac, get a portable one. Overall, consider all your usage scenarios for the right balance between portability and functionality.
- Driver Compatibility: It's crucial to select a hub compatible with either DisplayLink or InstantView drivers. This compatibility ensures seamless integration between the hub and your MacBook Air to enable the dual monitor setup.
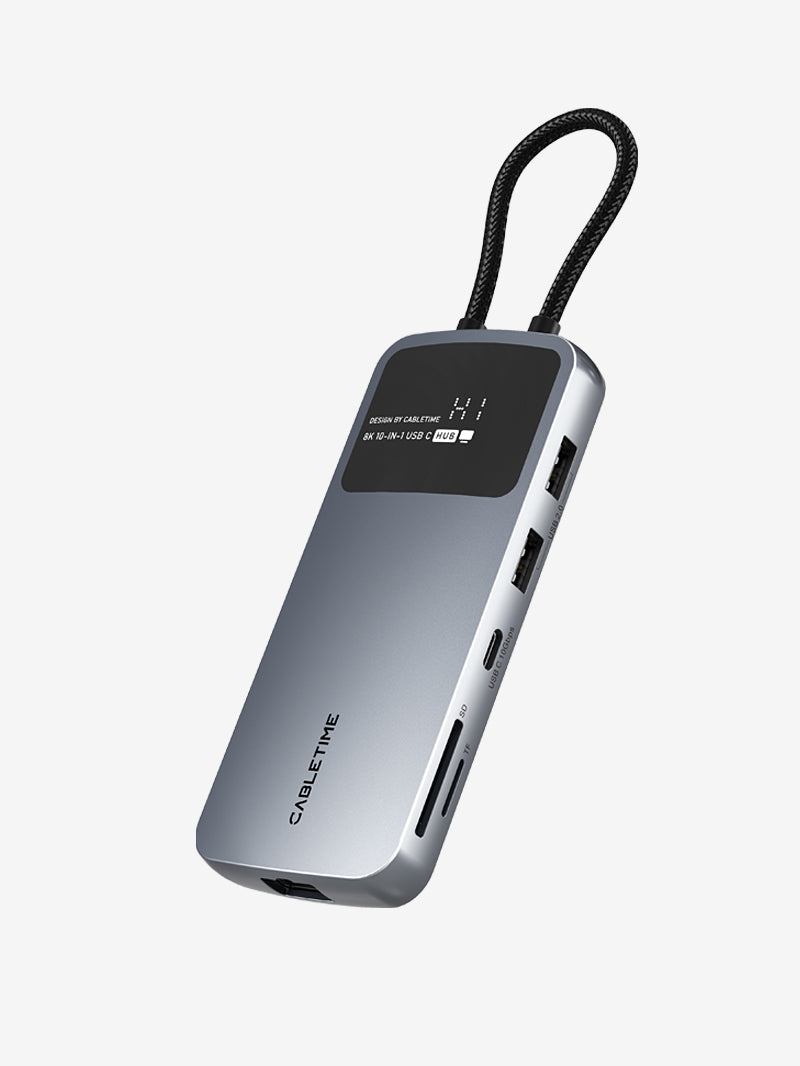
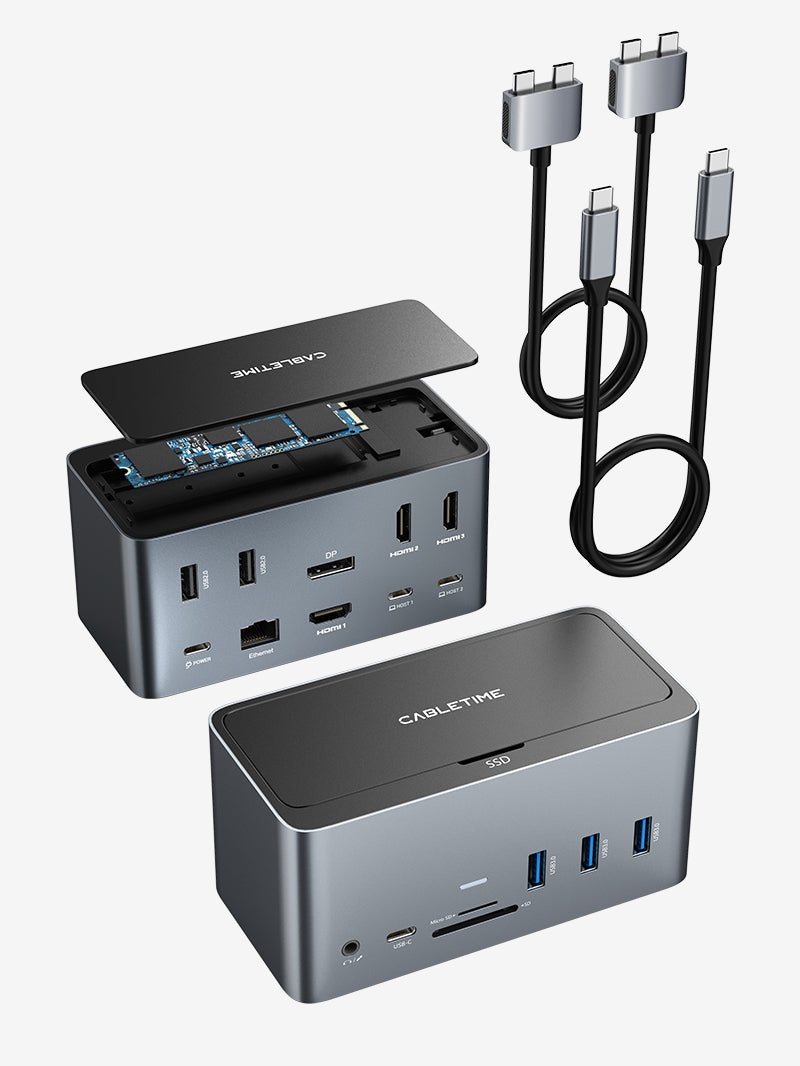
CableTime offers USB Hubs with various features. Check out their detailed descriptions and choose one that suits your needs and budget.
Common Failures or Abnormalities

Some of the common issues you might when implementing a dual monitor setup for your M1 or M2 MacBook Air include;
Monitor Cannot Be Recognized
This issue is often caused by inadequate contact points between the MacBook Air, the hub, and the monitor cables, outdated drivers, or mismatched software or hub. To fix this issue, check the connections, and ensure proper cable and hub compatibility. You should also update the Instant View or DisplayLink drivers.
Image Quality Problems
Another common anomaly manifests as image quality problems, including issues like poor resolution, color distortion, or flickering screens. These challenges may arise due to incompatible display settings, outdated drivers, or underlying hardware glitches. Resolving these issues involves adjusting display settings and updating drivers (InstantView or DisplayLink). Also, ensure all cables used are of good quality and tightly connected.
Dual Monitors Not Synchronized
Synchronization issues between dual monitors can disrupt workflow efficiency. Variances in display settings, incompatible resolutions, or hardware limitations often lead to these inconsistencies. Resolving this issue requires aligning settings across both monitors, ensuring compatibility, and checking for driver updates to enable a seamless and uniform dual-monitor experience.
Unsmooth Monitor Switching
Smooth transitions between monitors become challenging when there are delays or glitches in the switching process. This can be fixed by a software update and ensuring the sensitivity of your trackpad or increasing your mouse or touchpad sensitivity in settings.
MacBook Air Overheating
Overheating of the MacBook Air during dual-monitor use can occur due to heavy system loads when running resource-intensive apps, inadequate ventilation, or hardware issues. To address this, users should manage system loads and ensure proper ventilation (MacBook should be in an open space to receive sufficient air).
Dock or Hub Overheating
Similar to the MacBook Air, docks or hubs may also face overheating issues during prolonged use. This problem may arise from heavy usage for long hours, inadequate cooling, or hardware malfunctions. To prevent overheating, users should monitor and manage system loads and ensure proper ventilation around the dock or hub.
Power Issues
Interruptions in power supply or recurring power-related problems often result from faulty cables, insufficient power sources, or issues with the dock or hub. Utilizing high-quality cables and ensuring adequate power supply can help resolve most power-related abnormalities.
Conclusion
This article has covered all the steps you can follow to implement a dual-monitor setup on an M2/M1 MacBook Air. Initially, you'll need to install drivers (InstantView or DisplayLink), connect the hub to your laptop, connect the monitors, and finally make some display configurations. The final step ensures that the monitors display content according to your workflow and desired user experience. It's crucial to note that the cables, hub, and monitors you choose will impact the overall experience significantly. So, follow the factors explored in this article when selecting these peripherals.


