


Are you a dedicated Nintendo Switch gamer who loves the portability but dreads the neck strain, eye fatigue, or cramped viewing experience after long sessions? We get it. Hunching over a small screen, no matter how fun the game, can take its toll. But what if you could transcend those limitations and play your Switch games on a massive, immersive virtual screen, all while relaxing in ultimate comfort?
Welcome to the future of portable Switch gaming! This guide will show you two seamless ways to connect your Nintendo Switch to VR glasses, turning your favorite titles into a colossal, pain-free spectacle. The secret? A versatile CABLETIME HDMI to USB-C Cable paired with either your CABLETIME 3-in-1 USB-C Hub or your official Nintendo Switch Dock.

Why Play Switch 2 in XREAL One VR glasses? The Comfort and Immersion Advantage
Before we dive into the "how," let's talk about the "why." Connecting your Switch to XREAL One VR glasses (that support external display input) offers:
- Massive Virtual Screen: Imagine playing Zelda: Tears of the Kingdom on a screen that feels like it's 100 inches wide, right in front of your eyes.
- Unmatched Comfort: Recline on your couch, sit upright, or even lie down! With the screen projected directly into your view, you eliminate the need to stare down at a small handheld, significantly reducing neck and eye strain.
- True Immersion: While not "true VR" in the sense of 360-degree environments, playing on such a large, personal screen enhances focus and makes you feel more "inside" the game.
- Anywhere, Anytime: Your portable setup just got even more portable and personal. Enjoy big-screen gaming on a plane, in bed, or simply when your TV is occupied.

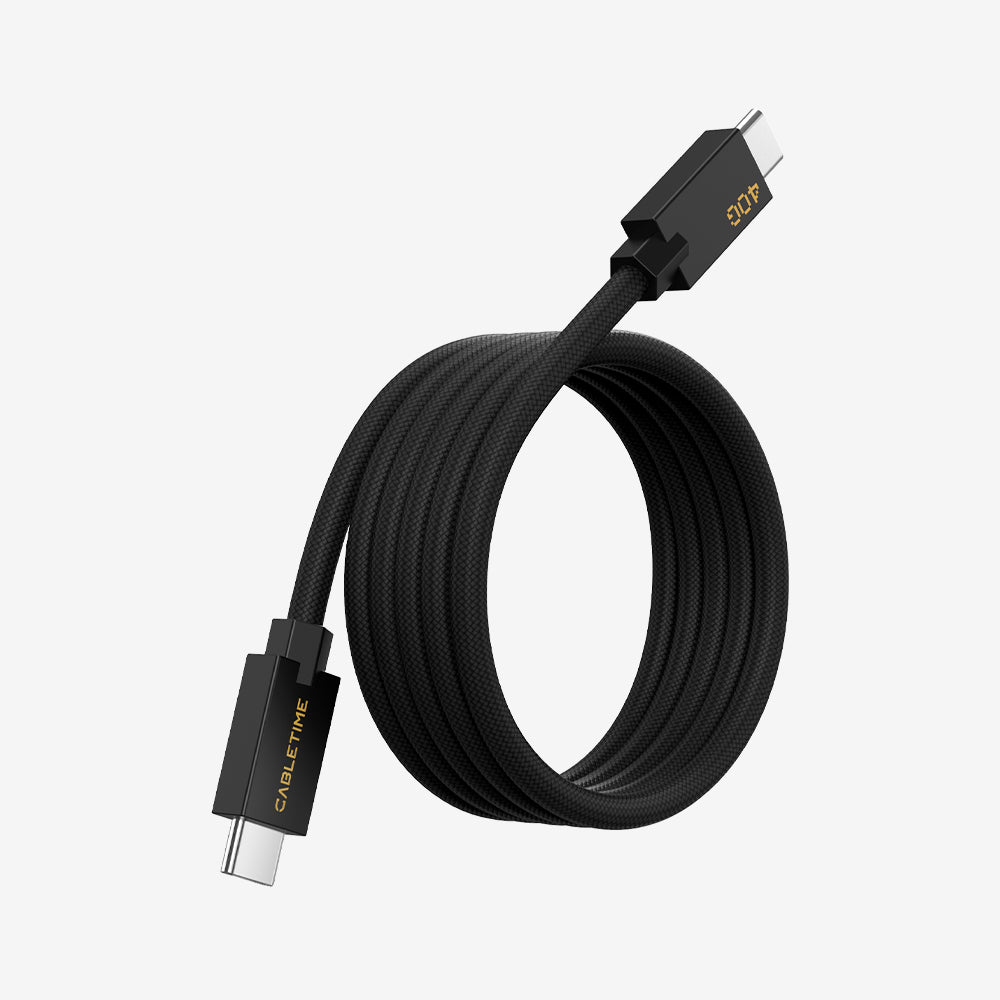
The Essential Link: CABLETIME HDMI to USB-C Cable
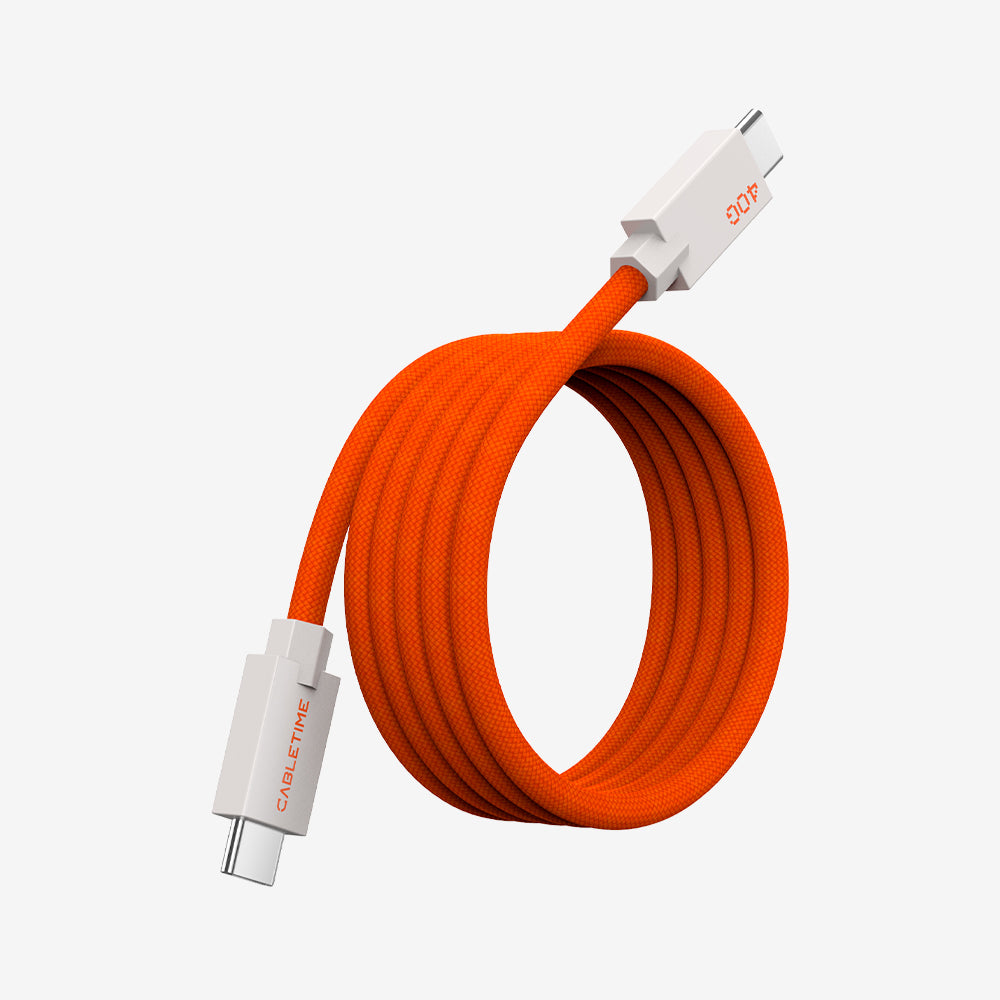
At the heart of both connection methods is the CABLETIME HDMI to USB Type C Cable (4K@60Hz). This high-performance cable is crucial for converting the HDMI video output from your Switch's dock or hub into a USB-C input compatible with most VR glasses that accept external displays (like some Nreal, Xreal, or other AR/VR glasses that act as a monitor).

Method 1: The Portable Powerhouse (Switch + CABLETIME 3-in-1 USB-C Hub + XREAL One VR Glasses)
This method is ideal for ultimate portability, allowing you to ditch the bulky official dock and use a compact hub instead.
What you'll need:
- Your Nintendo Switch 2
- CABLETIME 3-in-1 Switch 2 Dock Replacement
- CABLETIME HDMI to USB Type C Cable (4K@60Hz)
- XREAL One VR glasses that support USB-C video input
- Switch's original power adapter (or compatible Over 39w USB-C PD charger)
Steps:
1. Connect Switch to Hub: Plug your Nintendo Switch's USB-C port into the USB-C input on the CABLETIME 3-in-1 USB-C Hub. This hub is also compatible with Switch 2.
2. Power the Hub & Switch: Connect your Switch's power adapter (or a compatible PD charger) into the Hub's Power Delivery (PD) port. This ensures stable power for both the Hub and your Switch, crucial for video output.
3. Connect HDMI & USB-A to Hub: Take your CABLETIME HDMI to USB-C Cable.
- Plug the standard HDMI endinto the HDMI output port on your CABLETIME 3-in-1 USB-C Hub.
- Plug the USB-A end of the cable into a free USB-A port on your CABLETIME 3-in-1 USB-C Hub. This provides essential power for the HDMI to USB-C Cable itself.
4. Connect USB-C to VR Glasses: Plug the USB-C end of the HDMI to USB-C cable directly into the USB-C input port on your XREAL One VR glasses.
5. Power On & Enjoy: Power on your XREAL One VR glasses. Your Switch's display should now be mirrored onto a massive virtual screen inside your VR headset. Adjust your VR glasses for the best viewing comfort!

Method 2: The Official Route (Switch + Official Dock + XREAL One VR glasses)
If you prefer to use your existing official Nintendo Switch Dock, you can also achieve the same big-screen VR experience.
What you'll need:
- Your Nintendo Switch 2
- Official Nintendo Switch Dock
- CABLETIME HDMI to USB Type C Cable (4K@60Hz)
- XREAL One VR glasses that support USB-C video input
- Switch's original power adapter

Steps:
1. Dock Your Switch: Place your Nintendo Switch into its official dock, ensuring it's properly seated and powered by its original adapter.
2. Connect Cable to Dock: Take your CABLETIME HDMI to USB-C Cable.
- Plug the standard HDMI end into the HDMI output port on the back of your official Switch Dock.
- Plug the USB-A end of the cable into a free USB-A port on your official Switch Dock. This provides essential power for the HDMI to USB-C Cable itself.
3. Connect Cable to XREAL One VR glasses: Plug the USB-C end of the cable directly into the USB-C input port on your VR glasses.
4. Power On & Play: Power on your XREAL One VR glasses. Your Switch's game should now be perfectly displayed on the virtual screen within your headset.
Why CABLETIME for Your VR Switch Setup?
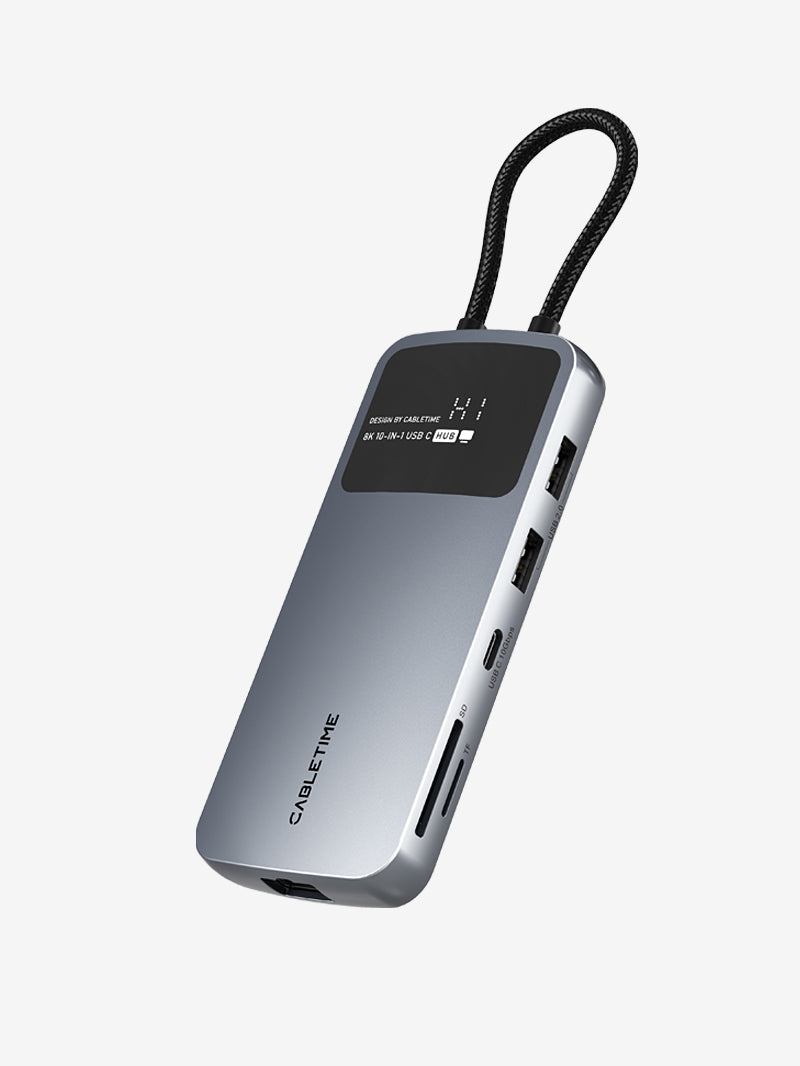
CABLETIME 3-in-1 USB-C Hub: A compact, powerful alternative to the bulky official dock, perfect for travel and decluttering your setup. It provides stable video output and charging for your Switch.
CABLETIME HDMI to USB Type C Cable: This isn't just any cable. It's built for reliability and high-resolution output (4K@60Hz), ensuring your Switch games look vibrant and fluid on your VR screen. Its robust construction guarantees a stable connection.
Conclusion: Game Comfortably, Game Immersively!
No more battling with a tiny screen or enduring discomfort during epic boss fights. With the CABLETIME HDMI to USB-C Cable and your choice of either the CABLETIME 3-in-1 USB-C Hub or your official Nintendo Switch Dock, you can elevate your Switch gaming into a supremely comfortable and deeply immersive big-screen VR experience.
Grab your gear, find your most comfortable spot, and dive into your favorite Switch worlds like never before!


