


The Nintendo Switch is a marvel of portable gaming, but sometimes, a bigger screen can truly elevate the experience. Whether you're traveling, at a friend's house, or just want more screen real estate, connecting your Switch to a portable monitor is a game-changer. But how exactly do you do it, especially when the Switch itself doesn't have a direct HDMI output?
Fear not, fellow gamers! This comprehensive guide will show you two effective and seamless ways to connect your Nintendo Switch to any portable monitor, both utilizing the indispensable CABLETIME 3-in-1 USB-C Hub. Get ready to enjoy your favorite Switch titles on a grander scale, wherever you are!
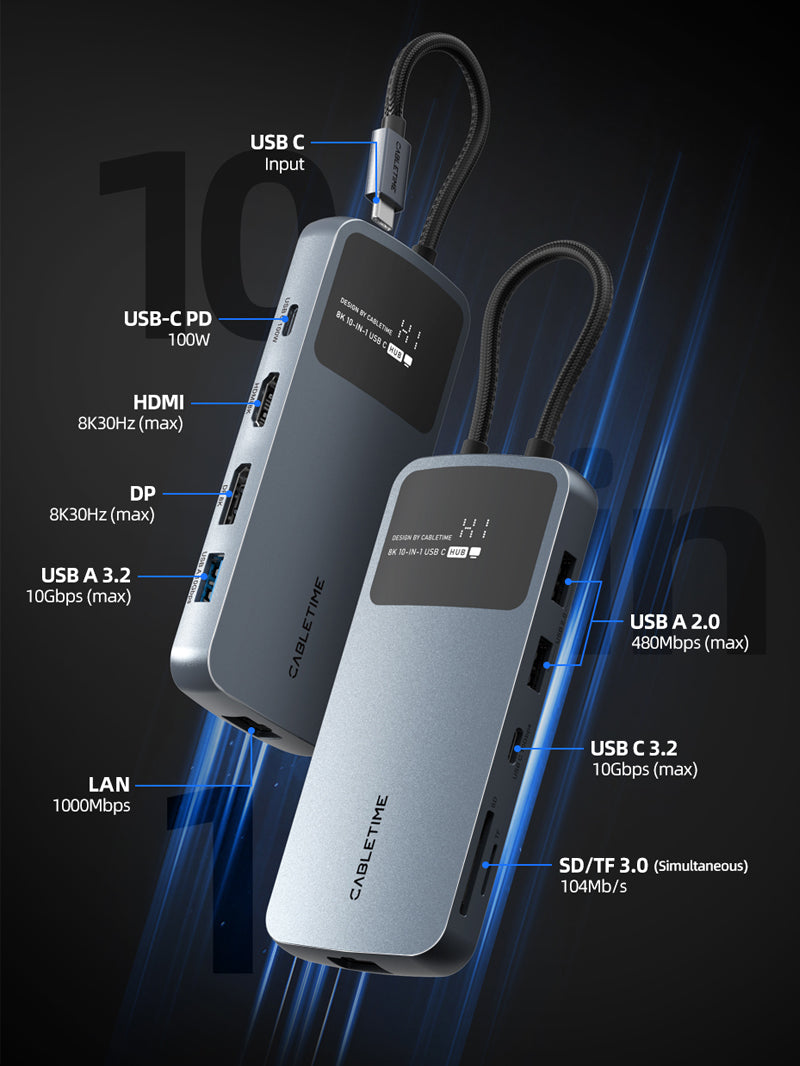
The Essential Link: CABLETIME 3-in-1 USB-C Hub
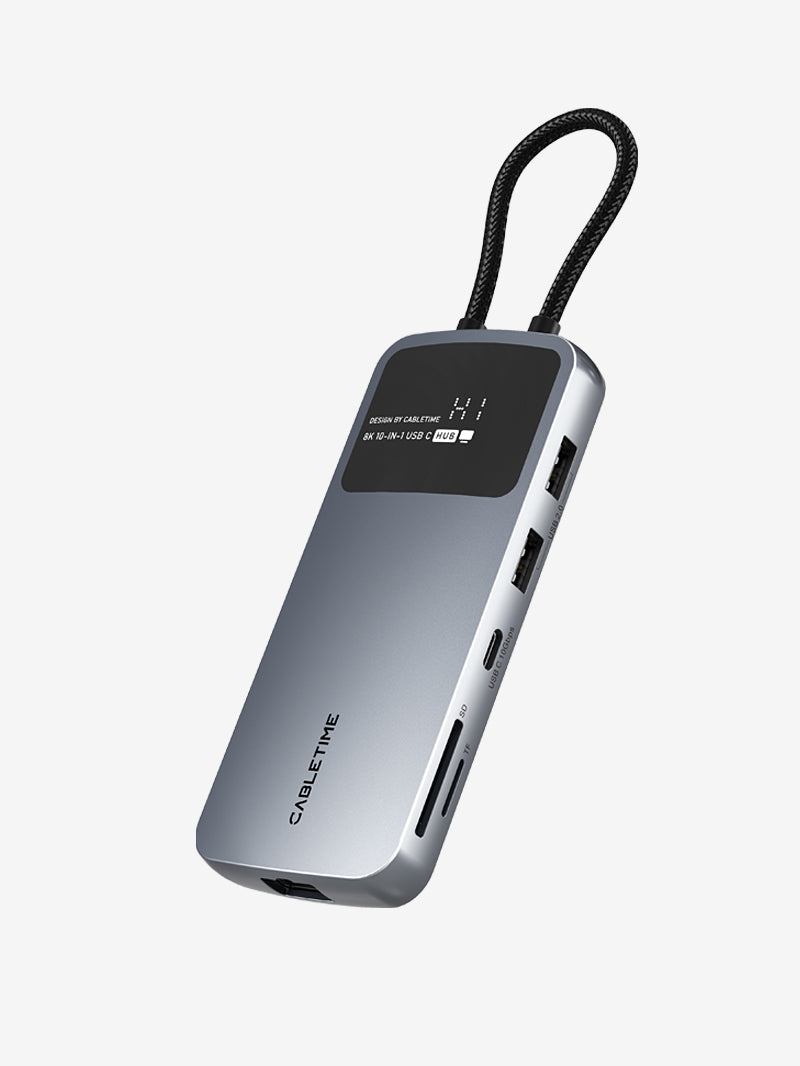
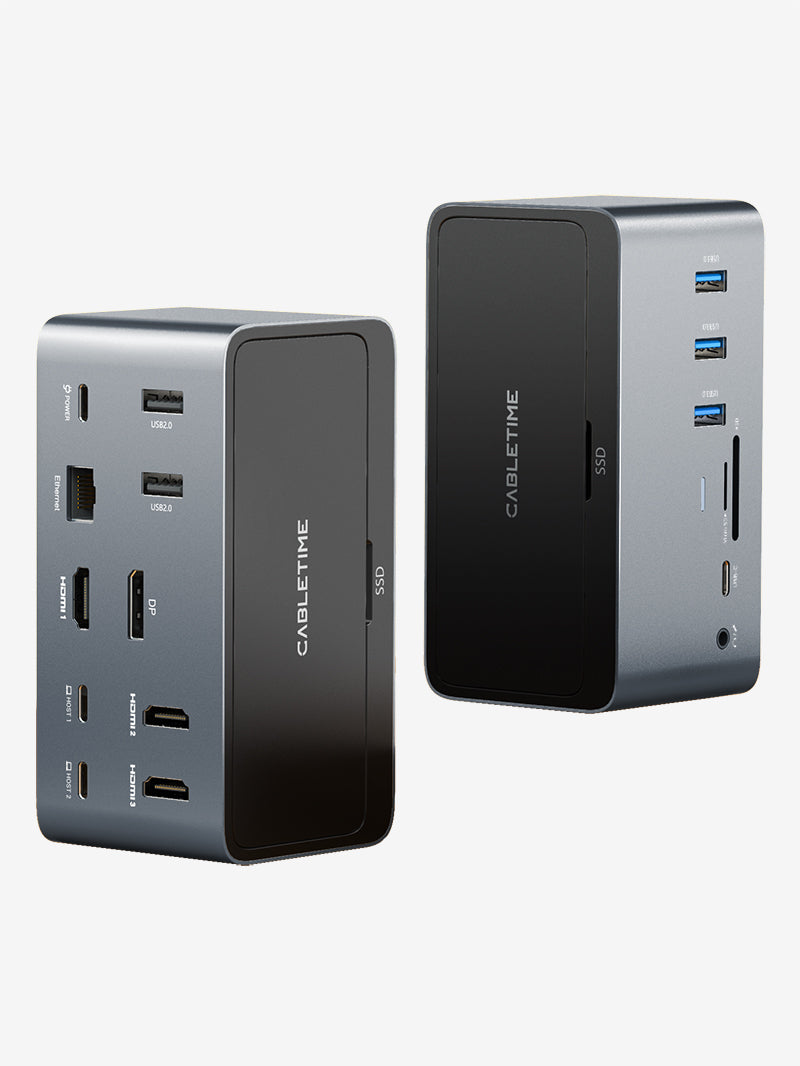
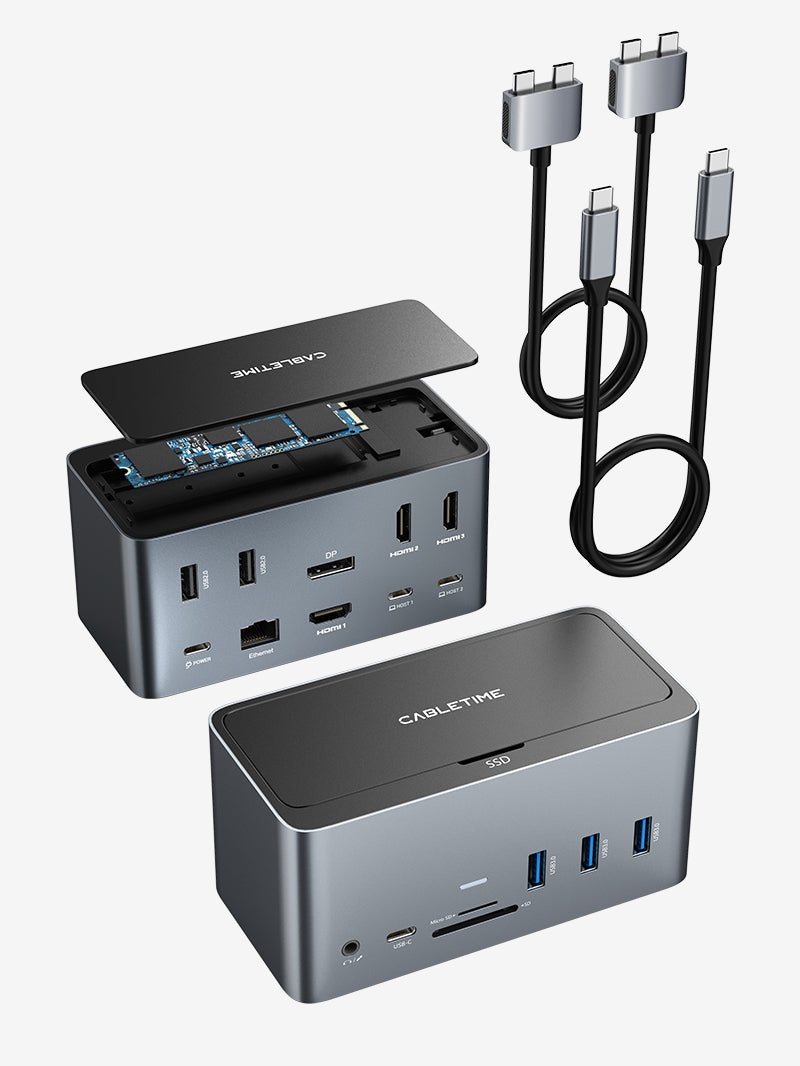
Before we dive into the connection methods, let's introduce the star player: the CABLETIME 3-in-1 Switch 2 Dock Replacement Portable TV Dock Station. This compact and powerful hub is the key to unlocking your Switch's full potential on external displays. It cleverly converts your Switch's USB-C output into essential ports like HDMI, allowing for versatile connections.

Getting Started: Initial Hub Setup (For Both Methods)
No matter which connection cable you choose, the initial setup with your CABLETIME Hub is the same:
Connect Your Switch: Plug your Nintendo Switch's USB-C port into the USB-C input on your CABLETIME 3-in-1 USB-C Hub. Ensure a snug and secure connection.
Power the Hub & Switch: Connect your Switch's original power adapter (or any compatible USB-C PD charger) into the Hub's Power Delivery (PD) port. This step is crucial as it powers both the Hub and ensures your Switch is charged, providing stable video output.
Once these two steps are done, your CABLETIME Hub is ready to serve as the bridge between your Switch and your portable monitor!

Method 1: The Single-Cable Solution (Hub + CABLETIME HDMI to USB-C Cable)
This method is perfect for modern portable monitors that feature a USB-C input supporting video (DisplayPort Alternate Mode) and power delivery. It offers a super clean, often single-cable connection from the Hub to your monitor.
What you'll need:
- Your Nintendo Switch 2
- CABLETIME 3-in-1 USB-C Hub (as set up above)
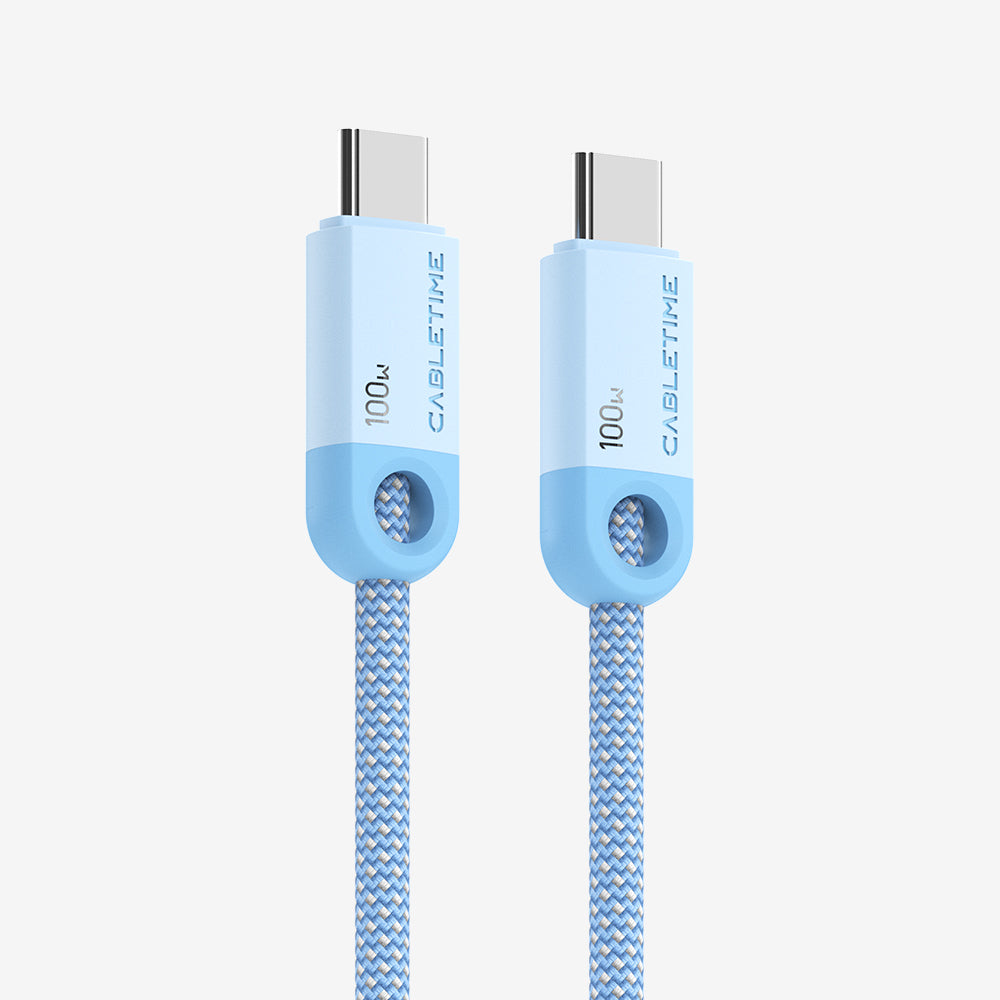
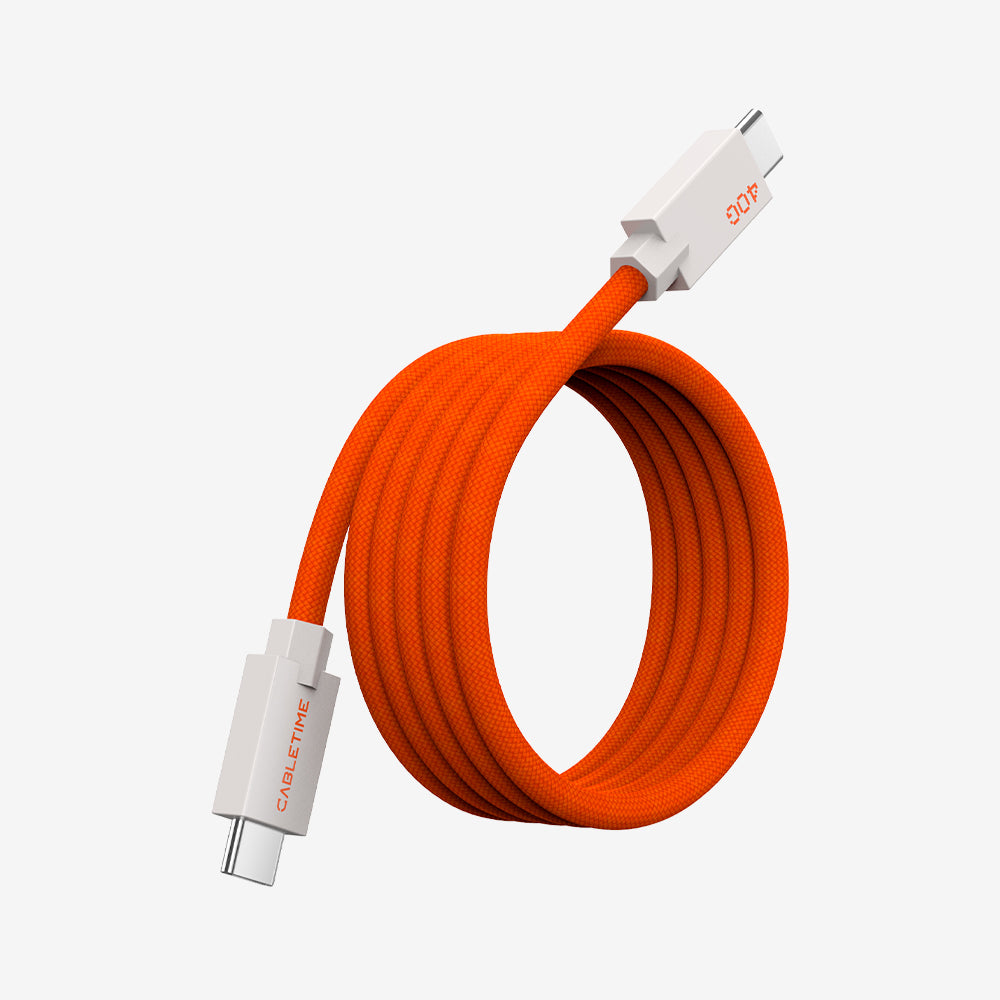
- CABLETIME HDMI to USB Type C Cable (4K@60Hz)
- A portable monitor with a USB-C input (supporting video/power)

Steps:
1. Connect HDMI to Hub: Take your CABLETIME HDMI to USB-C Cable and plug the standard HDMI end into the HDMI output port on your CABLETIME 3-in-1 USB-C Hub.
2. Connect USB-C to Monitor: Plug the USB-C end of the cable directly into the USB-C input port on your portable monitor.
3. Power On & Play: Ensure your portable monitor is powered on. Your Switch's display should instantly appear! This cable can often provide power to compatible monitors as well, simplifying your setup.

Method 2: Versatile Connectivity (Hub + CABLETIME Mini HDMI to HDMI Cable)
If your portable monitor primarily features a Mini HDMI input, or if you prefer a more traditional video connection, this method is your go-to.
What you'll need:
1. Your Nintendo Switch
2. CABLETIME 3-in-1 USB-C Hub (as set up above)
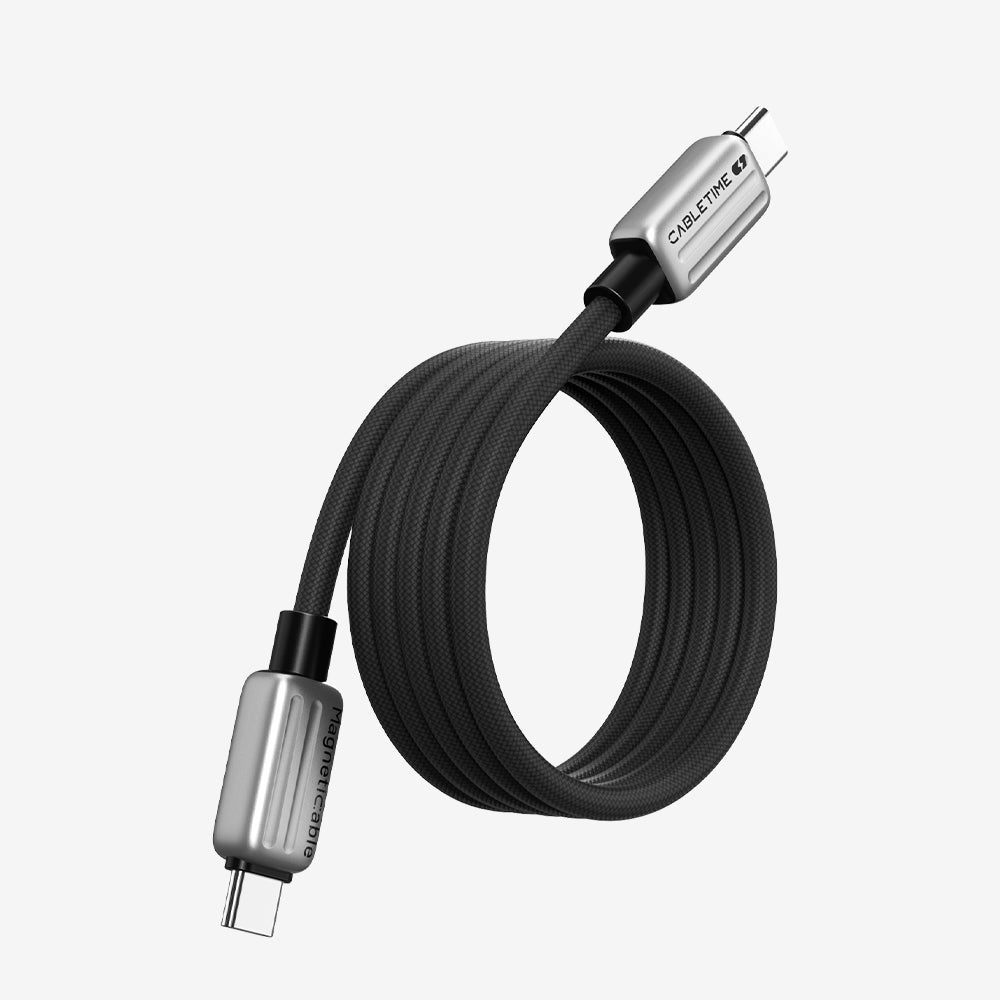
3. CABLETIME 8K@60Hz Mini HDMI to HDMI Cable (Bi-Directional)
4. A portable monitor with a Mini HDMI input (and possibly a separate power input)

Steps:
1. Connect HDMI to Hub: Take your CABLETIME Mini HDMI to HDMI Cable and plug the standard HDMI end into the HDMI output port on your CABLETIME 3-in-1 USB-C Hub.
2. Connect Mini HDMI to Monitor: Plug the Mini HDMI end of the cable into the Mini HDMI input port on your portable monitor.
3. Power Monitor (if needed): Most portable monitors will require a separate power source when using a Mini HDMI connection. Plug in your monitor's dedicated power adapter or a compatible USB-C power supply.
4. Power On & Play: Ensure your portable monitor is powered on. Your Switch's image will then be displayed, ready for action!
Why Choose CABLETIME Products for Your Portable Gaming Setup?
CABLETIME 3-in-1 USB-C Hub: This isn't just a dock replacement; it's a portable powerhouse. Its compact design makes it perfect for travel, and its ability to output video while charging your Switch is indispensable.
CABLETIME HDMI to USB-C Cable: Engineered for high performance, this cable delivers crisp 4K@60Hz video, ensuring your games look stunning. Its single-cable capability for video and power (with compatible monitors) reduces clutter.
CABLETIME 8K@60Hz Mini HDMI to HDMI Cable: Don't let its "Mini" size fool you; this cable supports impressive 8K@60Hz visuals, providing crystal-clear picture quality. Its bi-directional design ensures broad compatibility with various devices.
Conclusion: Game Without Limits!
With the CABLETIME 3-in-1 USB-C Hub acting as your central command, and your choice of either the HDMI to USB-C Cable or the Mini HDMI to HDMI Cable, you're no longer confined to your TV when playing your Nintendo Switch. Experience the joy of big-screen gaming wherever your adventures take you. Which method will you try first? Share your portable gaming setup with us in the comments below!


