


Hvis du ikke har et tv, eller dit tv midlertidigt ikke virker, kan du bærbar skærm er en meget praktisk måde at blive ved med at spille på din PS5.
Jeg testede selv denne opsætning, og det viste sig at være meget nemmere, end mange tror. Så længe du har det rigtige kabel og en bærbar skærm med det rigtige input, kan du forvandle et lille skrivebord eller en midlertidig opsætning til en ren PS5-gamingstation.
For mig er denne type opsætning især nyttig, når:
- der er ikke noget tv tilgængeligt
- TV'et bruges af en anden
- du ønsker et enklere gaming-setup på skrivebordet
- du ønsker noget mere fleksibelt end en fuld skærm eller et fjernsyn
Det gode er, at der er mere end én måde at gøre det på.

Hvad du har brug for
Før du starter, skal du forberede disse ting:
- PS5
- Bærbar skærm med enten:
- USB-C videoindgang, eller
- Mini HDMI-indgang
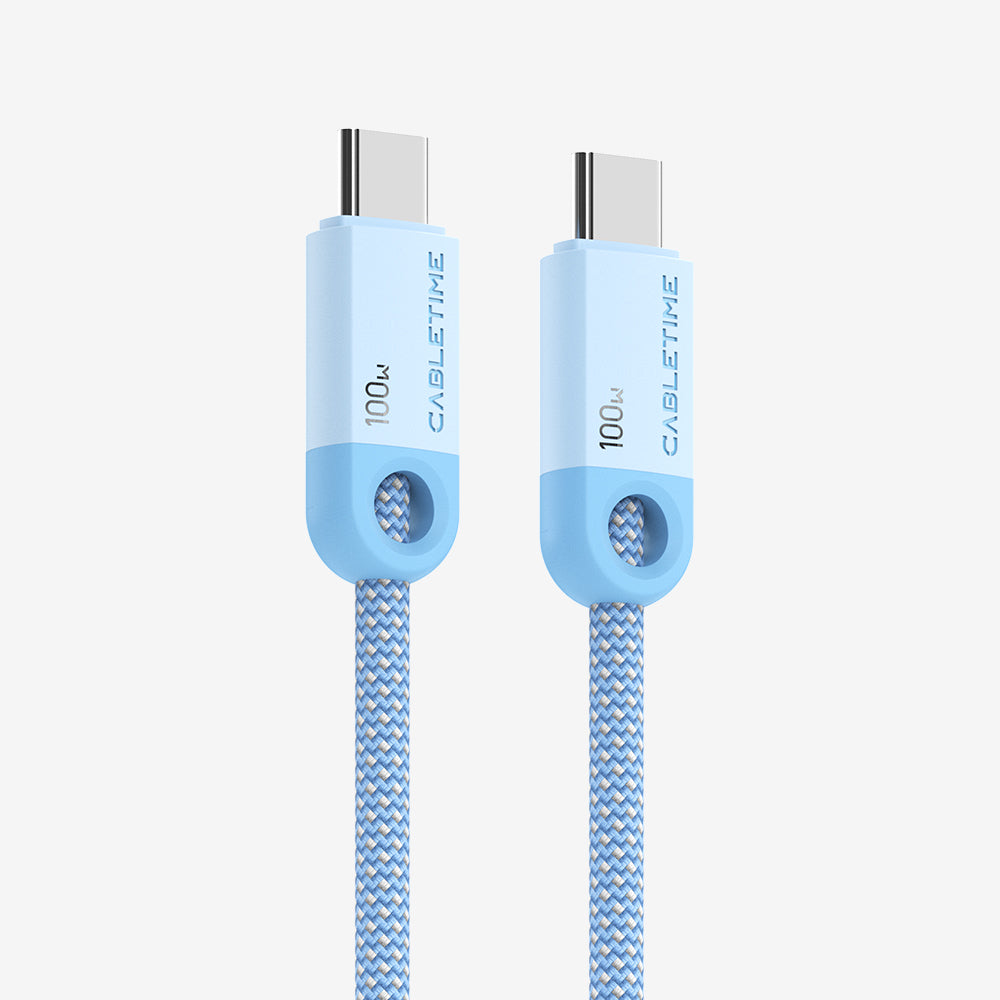
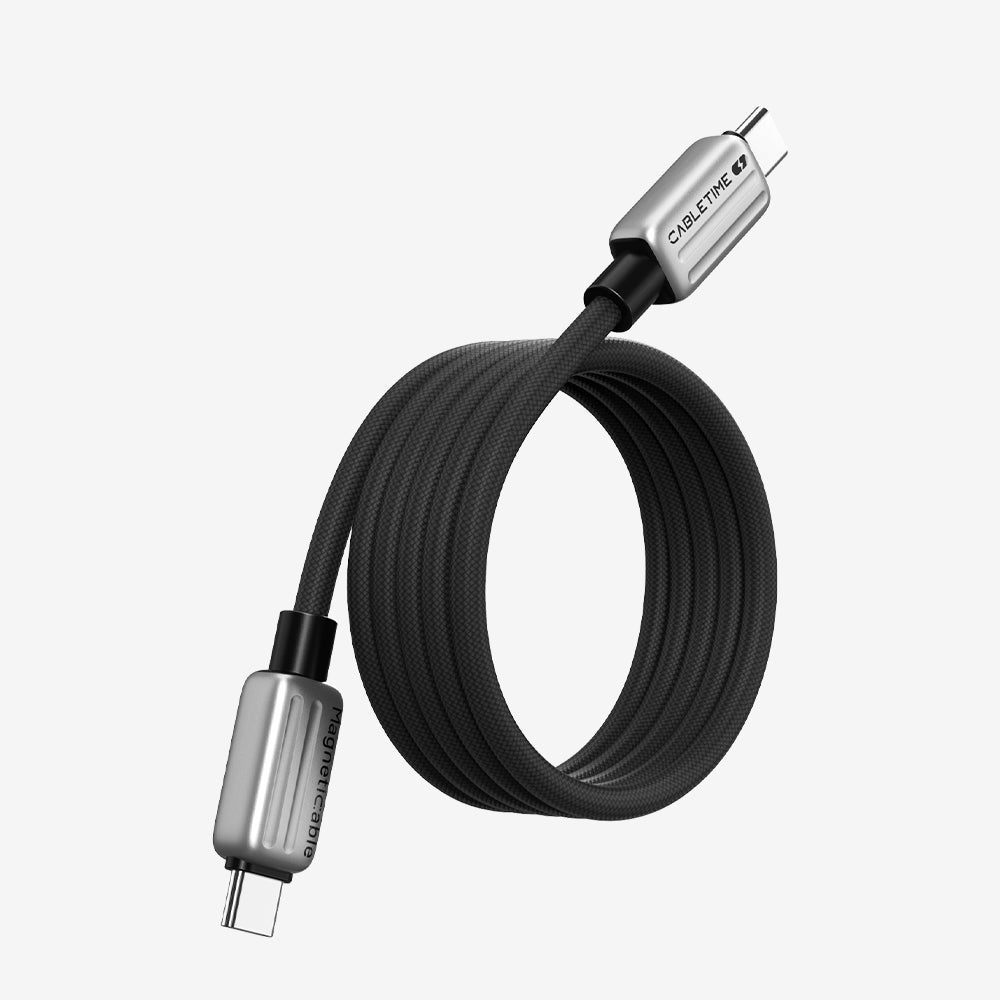
- HDMI til USB-C-kabel eller
- HDMI til Mini HDMI-kabel

En vigtig ting at bemærke: din bærbare skærm skal understøtte den korrekte videoindgang, ikke kun opladning. Nogle USB-C-porte er kun til strøm, så det er altid bedst at bekræfte skærmens inputtype først.
Metode 1: Tilslut PS5 til en bærbar skærm med USB-C-indgang
Dette er en meget ren opsætning, hvis din bærbare skærm understøtter det USB-C skærmindgang.
Tænd først din bærbare skærm. Nogle modeller kan strømforsynes direkte, mens andre muligvis kræver en ekstern strømkilde, så følg blot din skærms normale opsætning.
Tænd derefter din PS5.
Brug derefter HDMI til USB-C-kabel med USB A-strømforsyning:
- tilslut HDMI-ende til PS5, den
- tilslut USB-C-ende til bærbar skærm
- Tilslut USB-A strømudgang til PS5 USB-A-port eller til en 5V strømadapter
Dette sidste trin er meget vigtigt.
Fordi dette HDMI til USB-C-kabel inkluderer en USB-A strømforsyningsledning, USB-A-enden skal tilsluttes strøm, så kablet kan fungere problemfrit og vise signalet korrekt. I min rigtige test var det nødvendigt at tilslutte USB-A-enden til PS5's USB-A-port eller en 5V-adapter for stabil brug.
Når alt er tilsluttet korrekt, kan den bærbare skærm vise PS5-skærmen, og du kan begynde at spille.

Metode 2: Tilslut PS5 til en bærbar skærm med Mini HDMI-indgang
Hvis din bærbare skærm har en Mini HDMI-port i stedet for USB-C videoindgang, virker det også.
I dette tilfælde skal du bruge en HDMI til Mini HDMI-kabel:
- tilslut HDMI-ende til PS5
- tilslut Mini HDMI-ende til bærbar skærm
Tænd derefter skærmen og PS5'en, og billedet skulle vises normalt.
Dette er en god mulighed for bærbare skærme, der er designet mere som kompakte eksterne skærme og allerede inkluderer Mini HDMI som deres primære videoindgang.

Min rigtige testopsætning
Jeg testede dette med en rigtig PS5 og en bærbar skærmopsætning, og det fungerede godt som et praktisk alternativ til at bruge et tv.
Det jeg godt kan lide ved at bruge en bærbar skærm med PS5 er, at den sparer plads og føles meget nemmere at flytte rundt på. Det er også en god backupløsning, hvis dit tv har et problem, eller hvis du blot ønsker et dedikeret gaming-setup på dit skrivebord.
Sammenlignet med et traditionelt TV-system føles det:
- mere kompakt
- nemmere at placere på et skrivebord
- mere fleksibel til små rum eller midlertidige rum
Oplevelsen afhænger selvfølgelig også af størrelsen og kvaliteten af din bærbare skærm, men til hverdagsspil er det en meget praktisk løsning.
Hvilken forbindelsesmetode er bedre?


Det afhænger af din bærbare skærm.
- Hvis din skærm understøtter USB-C videoindgang, ved hjælp af en HDMI til USB-C-kabel giver dig en ren og moderne opsætning.
- Hvis din skærm har Mini-HDMI, så en HDMI til Mini HDMI-kabel er det bedre og mere direkte valg.
Så den bedste metode er simpelthen den, der matcher din skærms tilgængelige videoindgang.
Afsluttende tanker
Hvis dit tv ikke er tilgængeligt, er en bærbar skærm en god måde at fortsætte med at bruge din PS5 uden meget besvær.
Ud fra min virkelige test er begge metoder praktiske:
- HDMI til USB-C til bærbare skærme med USB-C videoindgang
- HDMI til Mini-HDMI til bærbare skærme med Mini HDMI-indgang
Så længe du bruger det rigtige kabel og den rigtige indgang, er det ligetil og nemt at tilslutte en PS5 til en bærbar skærm.
Hvis du ønsker et mindre, renere gaming setup, er dette bestemt et forsøg værd.


